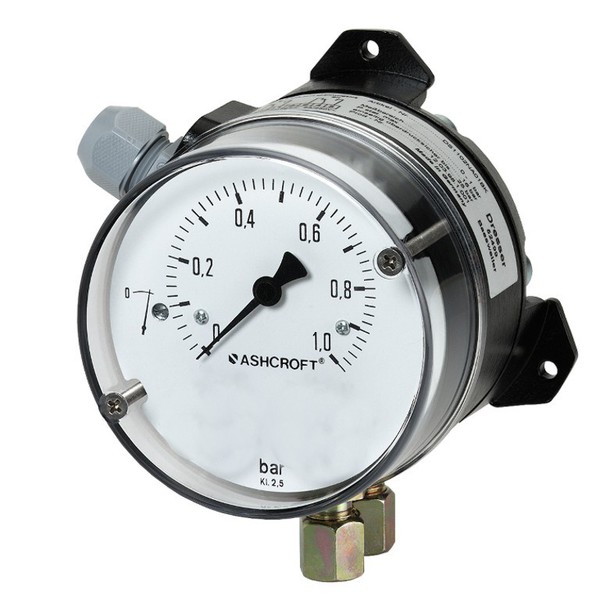

F5512 Differential Pressure Gauge
F5512 Differential Pressure Gauge
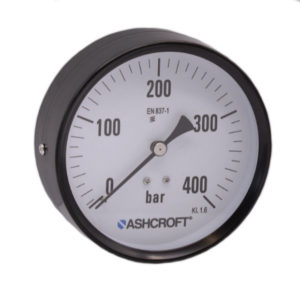
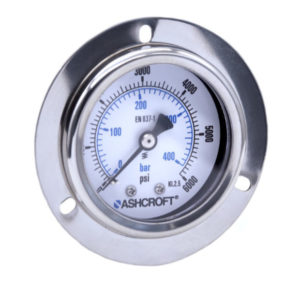
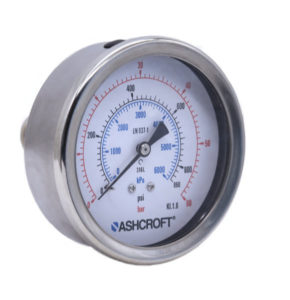
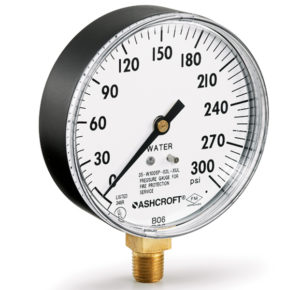
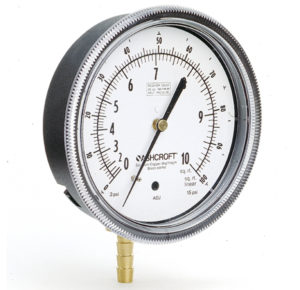
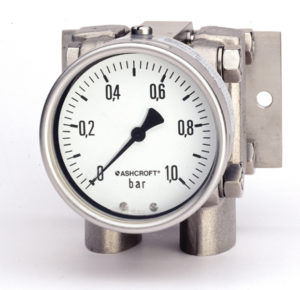
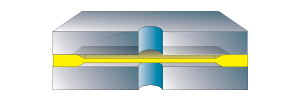
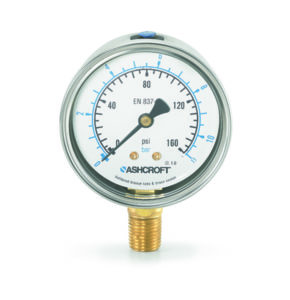
The Ashcroft® F5512 differential pressure gauge is used for monitoring differential pressure between two separate pressure sources.
Features & Properties
Use & Application
Downloads
Features & Properties
Use & Application
The F5512 differential gauge is ideal where safe and reliable pressure measurement is essential:
Downloads
Data Sheets
Installation + Maintenance
Declaration of Conformity
The Ashcroft® F5512 differential pressure gauge is used for monitoring differential pressure between two separate pressure sources. Designed for long service life. A perfect solution for challenging application and installation requirements.
Key Features
Cost effective
Selection of wetted materials
External zero adjustment
Markets & Applications
HVAC-R
Filter Monitoring
Energy
Machine Automation
Pulp and Paper
- Specifications
- Downloads
Mounting
Stem
Surface
Process Connection Style
Threaded
Tube stub male
Case Style
Open front case with Macrolon window cover
Accuracy
2.5% of span (class 2.5)
Dial Size
100 mm
Ranges
0.6 ... 25 bar
Pressure Type
Differential pressure
Wetted Parts Material
Stainless steel 303 (1.4305)
Aluminium
Aluminium Hart Coat®
Ingress Protection
IP54
Case or Body Material
Aluminium
Aluminium Hart Coat®
Stainless steel 303 (1.4305)
Process Connection Location
Lower
Static Pressure
up to PN25
Data Sheets
Installation + Maintenance
Declaration of Conformity
- Category: Differential Gauges, Industrial Gauges
We’re glad to be there for you personally.
Siamo personalmente a vostra disposizione!
Nous sommes personnellement là pour vous.
Şahsen yanınızda olmaktan mutluluk duyuyoruz.
We zijn blij dat we er persoonlijk voor u kunnen zijn.
Wir sind persönlich für Sie da!
Siamo personalmente a vostra disposizione!
Nous sommes personnellement là pour vous!
Select your Region!

