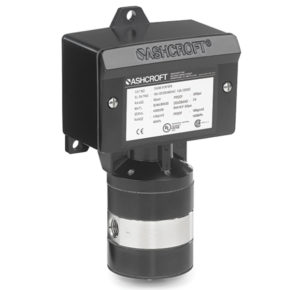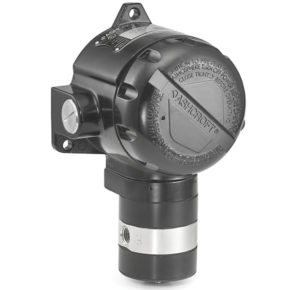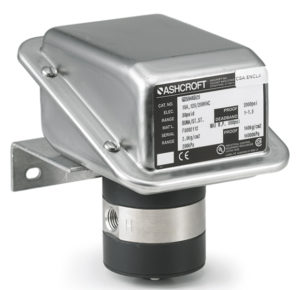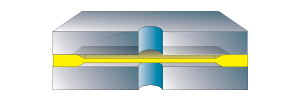

VD-Series Pneumatic Differential Pressure Switch
VD-Series Pneumatic Differential Pressure Switch
Process Market:
- Refineries
- Chemical and Petrochemical plants
- Water and Sewage Treatment Facilities
- Pipelines
Industrial Market:
- Food and Beverage Industry
- Specialized OEM Equipment
Data Sheets
Installation + Maintenance
Key Features
Wide variety of pressure connection thread options
Selection of wetted materials
Adjustable setpoints from 15% ... 100% of range
Precise repeatability of setpoint
Markets & Applications
Water and Wastewater
Chemical and Petrochemical
- Specifications
- Downloads
Case or Body Material
Epoxy coated aluminium
Process Connection Location
Bottom/side
In-line
Mounting
Stem
Surface
2" pipe mounting
Setpoint
Single setpoint - Field adjustable
Deadband Fixed
Process Connection Style
Threaded
Accuracy
1% of span
Switch Style
5/2 way pneumatic valve
Ranges
1 ... 42 bar / 15 ... 600 psi
1 ... 40 bar / 600 psi
75 ... 375 mbar / 30 ... 150 in. H2O
Pressure Type
Differential pressure
Wetted Parts Material
Buna-N®
Teflon®
Viton®
Stainless steel 316L (1.4404)
Ingress Protection
IP65
Static Pressure
PN100
0.375 ... 70 bar / 5.4 ... 1000 psi
Data Sheets
Installation + Maintenance
- Category: Differential Pressure Switches


