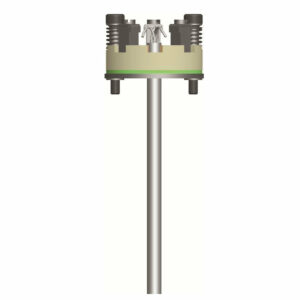

S10 RTD with Metric Connections
S10 RTD with Metric Connections
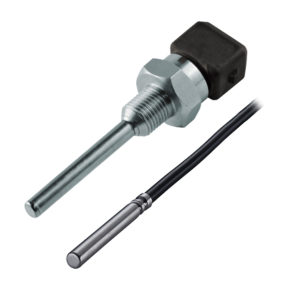
The Ashcroft AR10 RTD provides a reliable means for monitoring and controlling temperature.
Features & Properties
Use & Application
Downloads
Features & Properties
Use & Application
The AR10 RTD is ideal for applications in non-explosive environments:
Process Market:
- Power Generation
- Reactors
- Storage Tanks
- Cooling Towers
Industrial Markets:
- Industrial equipment Manufacture
- Industrial Ovens
- HVAC/R
Medical Life Sciences:
- Food and Beverage
- Pharmaceutical and Biotech
Downloads
Data Sheets
Installation + Maintenance
Declaration of Conformity
Industry Brochures
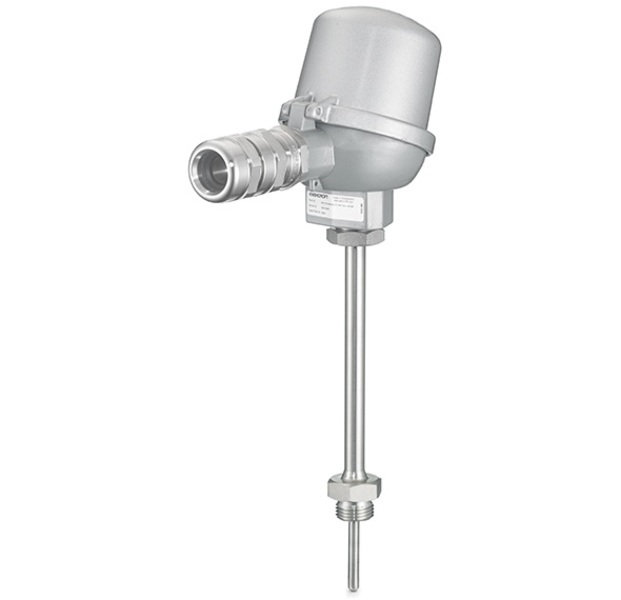
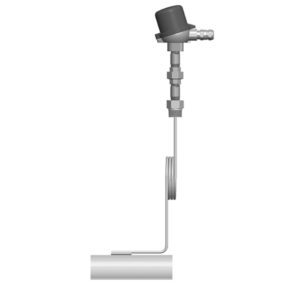
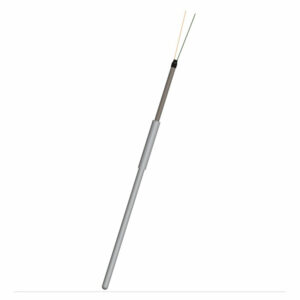
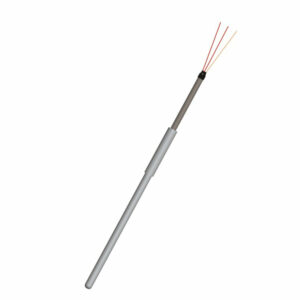
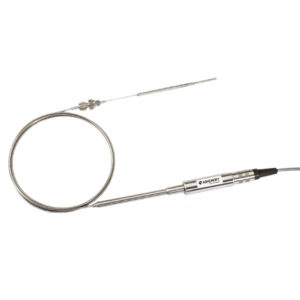
The Ashcroft® S10 RTD Mineral Insulated Probe Assemblies with or without lag extensions. Designed to be used in conjunction with DIN 43772 thermowells.
Key Features
Custom Lag Extensions
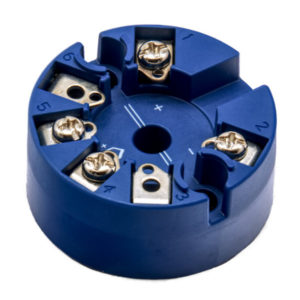
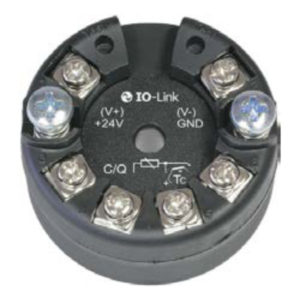
Available with and without transmitters
Mineral Insulated Inset
CSA, FM, ATEX, IECEx and INMETRO hazardous approvals
Designed for DIN 43772 thermowells
Manufactured to IEC 60751
Markets & Applications
HVAC-R
Chemical and Petrochemical
Energy
Food and Beverage
Pharmaceuticals
- Specifications
- Downloads
Stem Diameter
3 mm, 4.5 mm, 6 mm, 8 mm
Ranges
Pt100: -200 ... 600°C
Pt1000: -40 ... 600°C
Wetted Parts Material
Stainless steel 316L (1.4435)
Wiring Configuration
2 wire single or dual
3 wire single or dual
4 wire single or dual
Process Connection Style
Adjustable union
Fixed thread
Accuracy
Class A
Class B
Class AA
Stem length
50 ... 3000 mm
Head Configuration
DIN B
BBK
BUZ
BUZH
Options
Lag extension
Head transmitter
Lagging
Probe Sheath
Stainless steel 316L (1.4404)
Data Sheets
Installation + Maintenance
Declaration of Conformity
Industry Brochures
- Category: Electronic Temperature Devices
We’re glad to be there for you personally.
Siamo personalmente a vostra disposizione!
Nous sommes personnellement là pour vous.
Şahsen yanınızda olmaktan mutluluk duyuyoruz.
We zijn blij dat we er persoonlijk voor u kunnen zijn.
Wir sind persönlich für Sie da!
Siamo personalmente a vostra disposizione!
Nous sommes personnellement là pour vous!
Select your Region!

