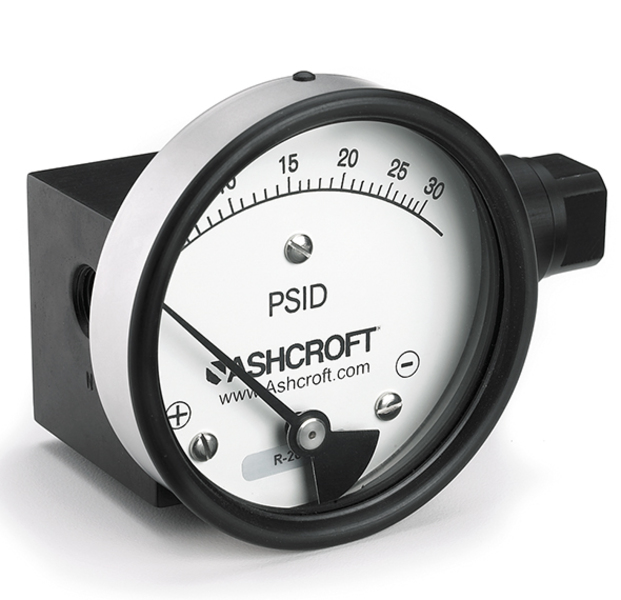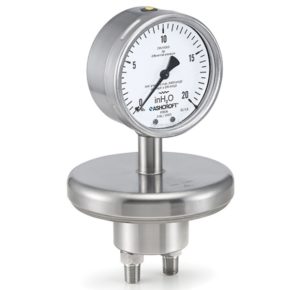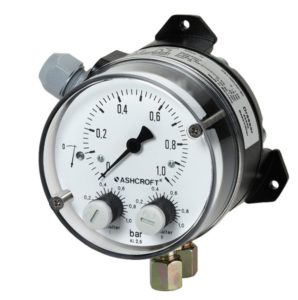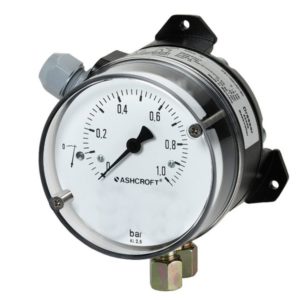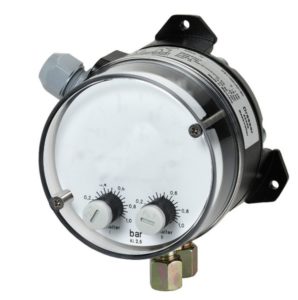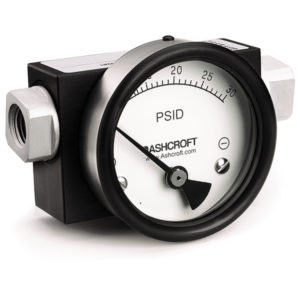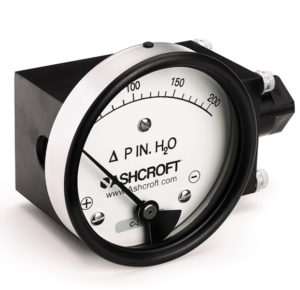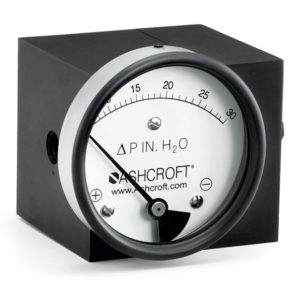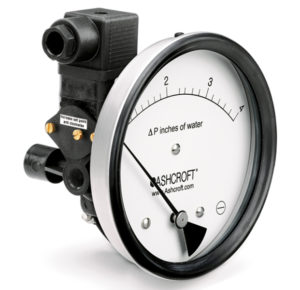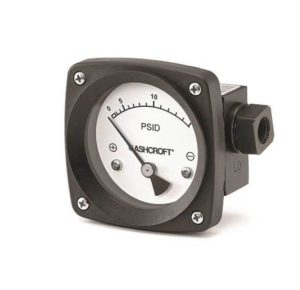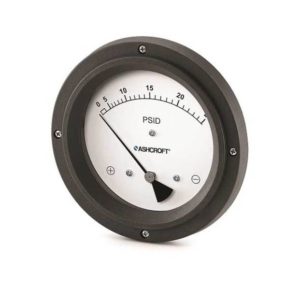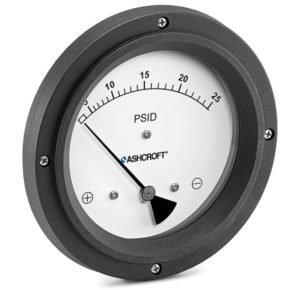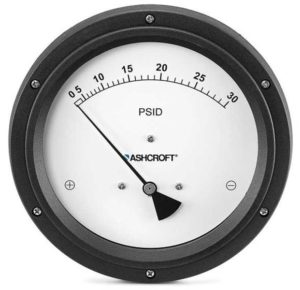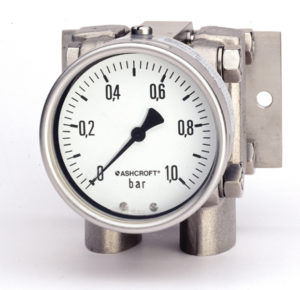
Key Features
Superior magnets for smoother pointer motion
Stainless steel case for limited space
Cost effective
Flow measurement dial (optional)
Electrical contacts (optional)
Custom dials available
Markets & Applications
Wetted Parts Material
Brass
Stainless steel 316 (1.4401)
Buna, Viton or EPDM O-rings/Diaphragm
Aluminium
Process Connection Style
Threaded
Ingress Protection
IP65
Case or Body Material
Stainless steel 304 (1.4301)
Stainless steel 316L (1.4404)
Accuracy
2% ascending
Process Connection Location
In-line
Lower
Centre back
Pressure Type
Differential pressure
Mounting
Flush
Stem
Surface
2" pipe mounting
Case Style
Safety by design measures (S3)
Dial Size
100 mm
63 mm
50 mm
3 1/2"
4 1/2"
6"
Static Pressure
up to PN200
Switch Style
Reed contacts SPST or SPDT
Ranges
0.25 ... 7 bar / 5 ... 100 psid
Equipped with a highly reliable and accurate sensing element, featuring the patented Ashcroft® Si-Glass™ sensor, Ashcroft offers a range of differential pressure transmitters specifically designed and developed for use in the cleanroom industry. Using an ultra-thin single crystal diaphragm, Ashcroft differential pressure transmitters offer inherent sensor repeatability and stability, making them stand out as highly accurate, long-term stable and reliable measurement instruments for cleanroom pressure monitoring.
The silicon diaphragm sensor is free of adhesives or other organic materials that are commonly used in differential pressure measurement technology and contribute to a drift in the measured value acquisition or a mechanical reduction in the measurement accuracy.
Ashcroft differential pressure transmitters incorporate the TruAccuracy™ specification. Ashcroft’s accuracy claim is based solely on terminal endpoint methodology and not on statistically derived accuracy claims’.
TruAccuracy™ means that Ashcroft differential pressure transmitters include zero offset, non-linearity, hysteresis, non-repeatability, zero offset and span adjustment error in their accuracy statement.
The user thus has a ready-to-install device at his disposal that does not require any initial calibration after installation. This considerably reduces the time and costs involved.
Other commercially available measuring devices usually do not include information on zero point deviation and span error in their accuracy specifications, so that these measurement errors (up to ±1.00%) must be added to the accuracy in order to achieve reliable performance characteristics.