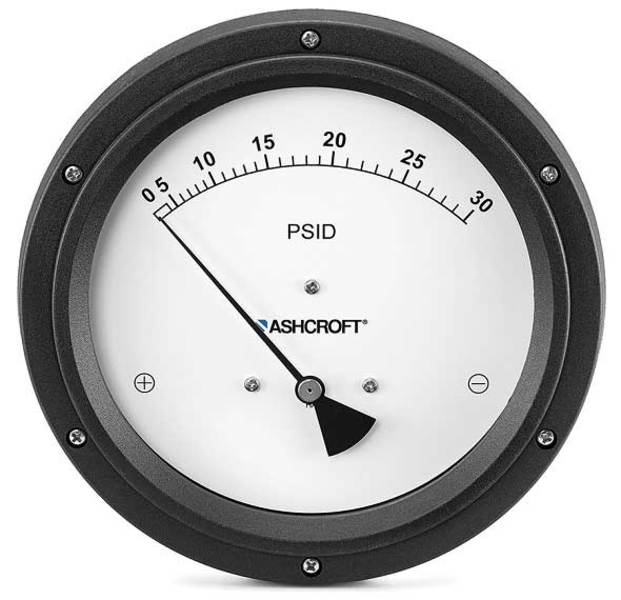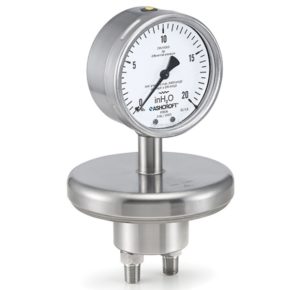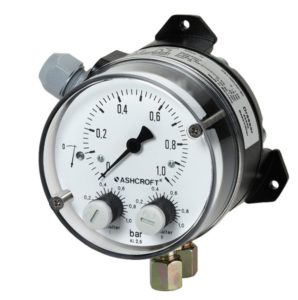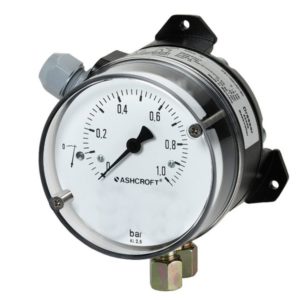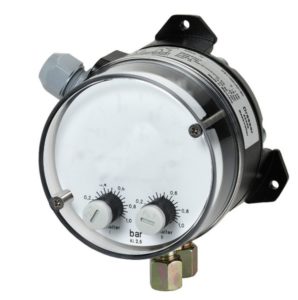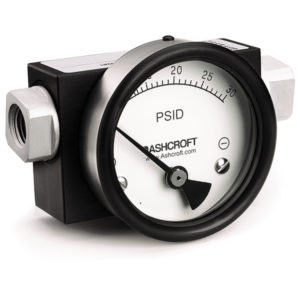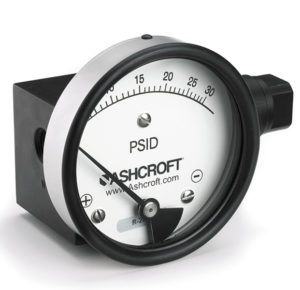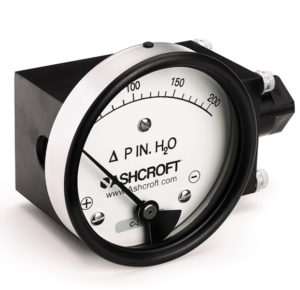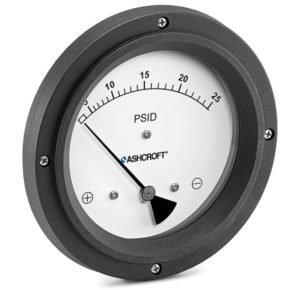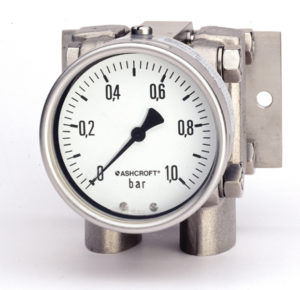

1143 Differential Pressure Gauge
1143 Differential Pressure Gauge
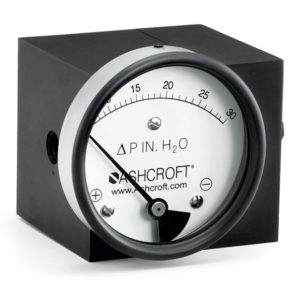
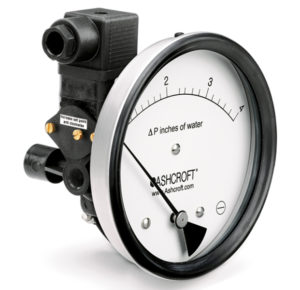
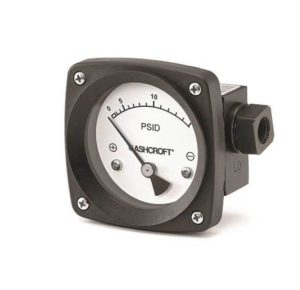
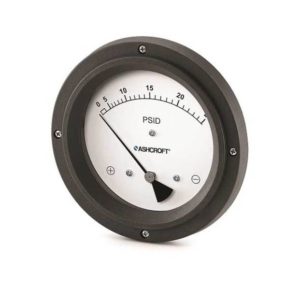
The 1143 convoluted diaphragm style differential pressure gauge with a glass filled nylon case is recommended for air, gas and liquid mediums. It is available with static pressure of 500 psi.
Features & Properties
Use & Application
Downloads
Features & Properties
Use & Application
The 1143 has an easily removable window for wipe down which makes it a perfect choice for locations where temperature fluctuations can cause condensation:
Downloads
Data Sheets
Installation + Maintenance
The Ashcroft® 1143 gauges are a very economical option for measuring very small differential pressure and where no media migration is permissible. Uses a convoluted diaphragm design and can be utilized with compatible fluids or gases with ranges as low as 2.5 mbar and where temperature fluctuations may cause readability concerns due to condensation.
Key Features
Superior magnets for smoother pointer motion
Electrical contacts (optional)
Custom dials available
Cost effective
Flow measurement dial (optional)
Easily removable window for wipe-down
Direct mount or panel mount as standard
Markets & Applications
- Specifications
- Downloads
Mounting
Flush
Stem
Surface
2" pipe mounting
Static Pressure
PN35
Case Style
Safety by design measures (S3)
Dial Size
4 1/2"
6"
Switch Style
Reed contacts SPST or SPDT
Ranges
2.5 ... 60 mbar / 1 ... 25 in. H2O
Process Connection Style
Threaded
Wetted Parts Material
Aluminium
Buna, Viton or EPDM O-rings/Diaphragm
Stainless steel 316L (1.4404)
Ingress Protection
IP65
Accuracy
2% ascending
Case or Body Material
Glass-filled Nylon
Process Connection Location
In-line
Lower
Centre back
Pressure Type
Differential pressure
Data Sheets
Installation + Maintenance
- Category: Differential Gauges
We’re glad to be there for you personally.
Siamo personalmente a vostra disposizione!
Nous sommes personnellement là pour vous.
Şahsen yanınızda olmaktan mutluluk duyuyoruz.
We zijn blij dat we er persoonlijk voor u kunnen zijn.
Wir sind persönlich für Sie da!
Siamo personalmente a vostra disposizione!
Nous sommes personnellement là pour vous!
Select your Region!

