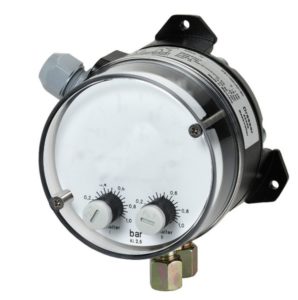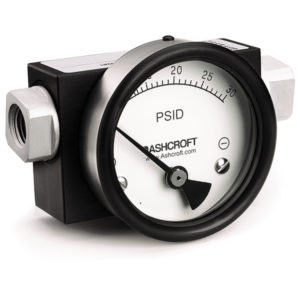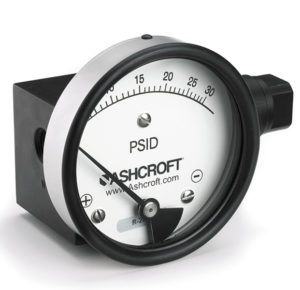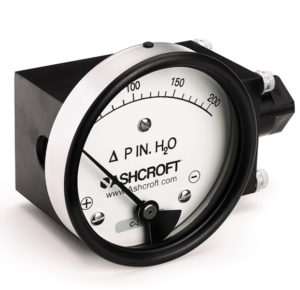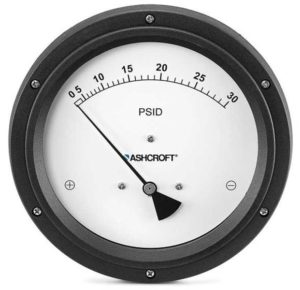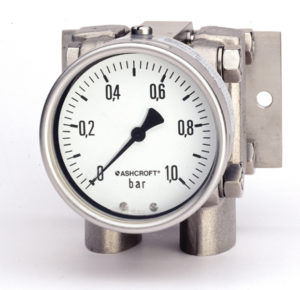

1134 Differential Pressure Gauge
1134 Differential Pressure Gauge
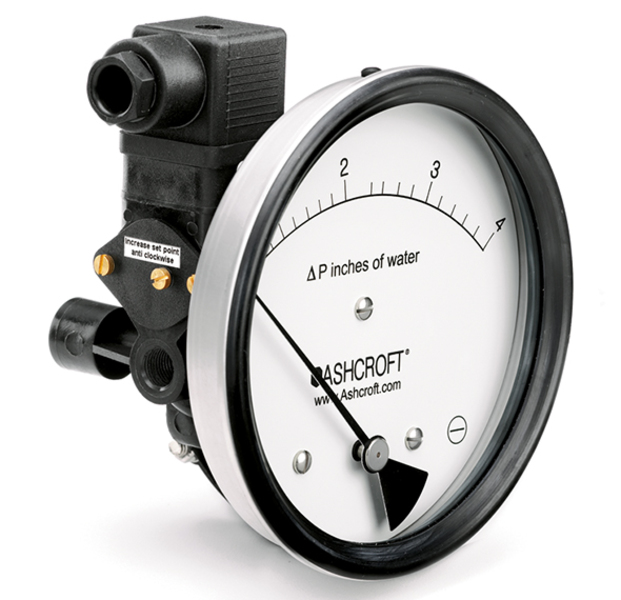
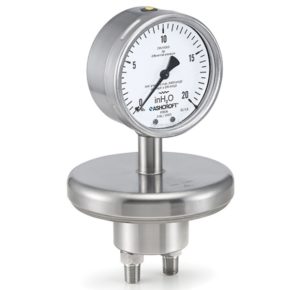
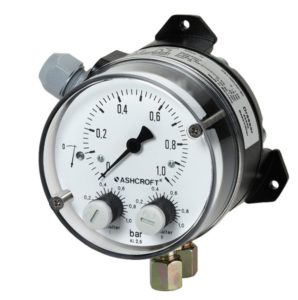
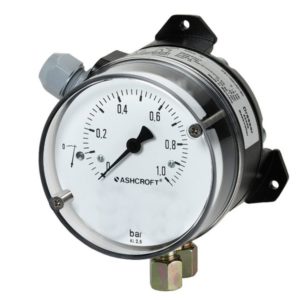
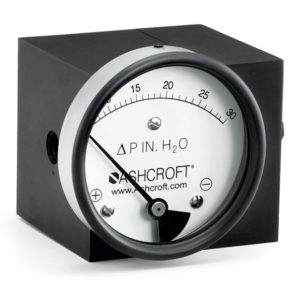
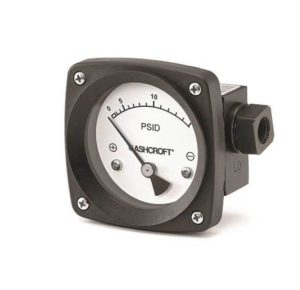
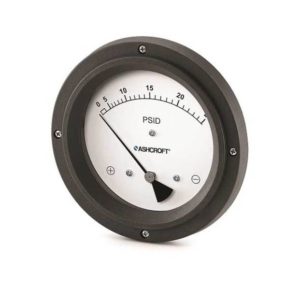
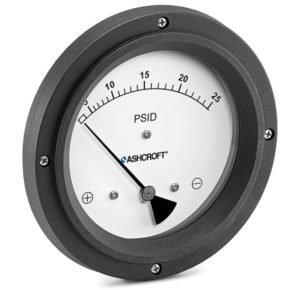
The Ashcroft® 1134 differential pressure gauge is an economical means for measuring very low pressure between two independent pressure sources.
Features & Properties
Use & Application
Downloads
Features & Properties
Use & Application
The 1134 differential gauge is ideal where safe and reliable pressure measurement is essential:
- Filtration Monitoring
- Flow Measurement
- Leak Detection
- Clean Room Positive Pressure (low dp)
Downloads
Data Sheets
Installation + Maintenance
Declaration of Conformity
Selection Guides
The Ashcroft® 1134 differential pressure gauge is an economical means for measuring differential pressure. The 1134 is designed for mounting in clean room, isolation room and glove box applications and offers ranges as low as 2.5 mbar
Key Features
Superior magnets for smoother pointer motion
Stainless steel case for limited space
Electrical contacts (optional)
Custom dials available
Standard with in-line and back process ports
Cost effective
Flow measurement dial (optional)
Markets & Applications
- Specifications
- Downloads
Case or Body Material
Stainless steel 304 (1.4301)
Pressure Type
Differential pressure
Process Connection Location
Centre back
In-line
Mounting
Flush
Stem
Surface
2" pipe mounting
Static Pressure
2.4 bar / 35 psid
Case Style
Safety by design measures (S3)
Dial Size
4 1/2"
Switch Style
Reed contacts SPST or SPDT
Process Connection Style
Threaded
Ranges
2.5 ... 125 mbar / 0.6 ... 60 in. H2O
Wetted Parts Material
Glass filled nylon
O-Rings/Diaphragm Buna-N or EPDM
Ingress Protection
IP65
Accuracy
3% ascending
Data Sheets
Installation + Maintenance
Declaration of Conformity
Selection Guides
- Category: Differential Gauges
We’re glad to be there for you personally.
Siamo personalmente a vostra disposizione!
Nous sommes personnellement là pour vous.
Şahsen yanınızda olmaktan mutluluk duyuyoruz.
We zijn blij dat we er persoonlijk voor u kunnen zijn.
Wir sind persönlich für Sie da!
Siamo personalmente a vostra disposizione!
Nous sommes personnellement là pour vous!
Select your Region!

