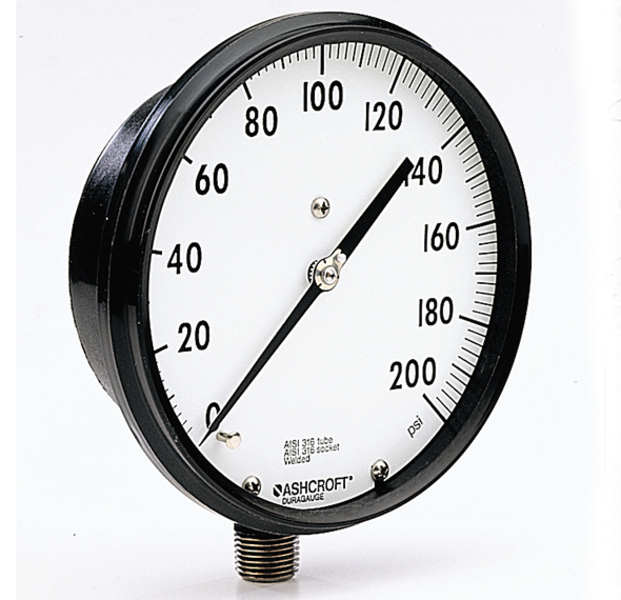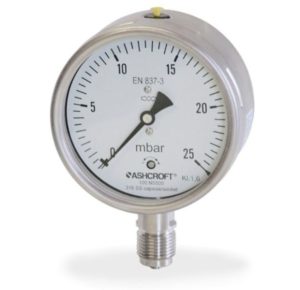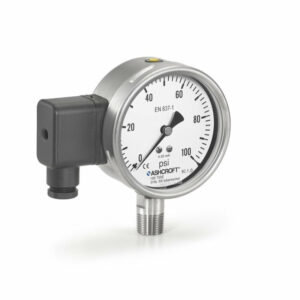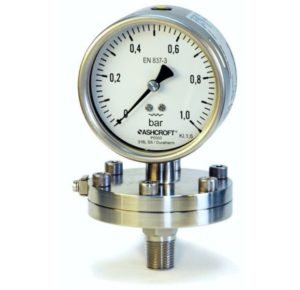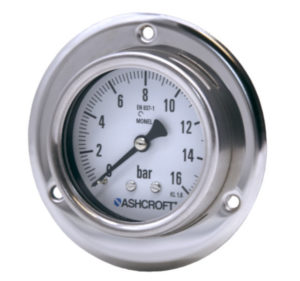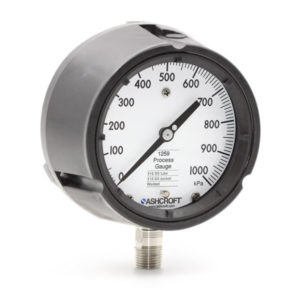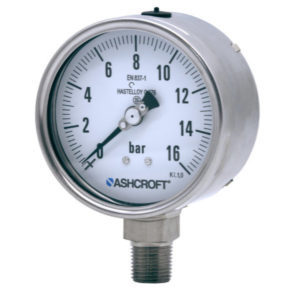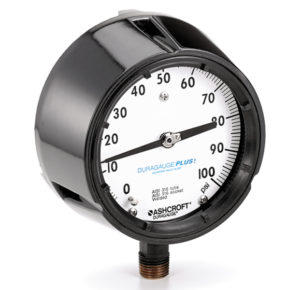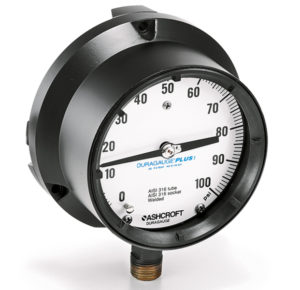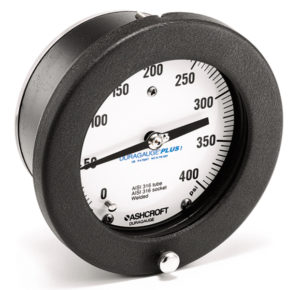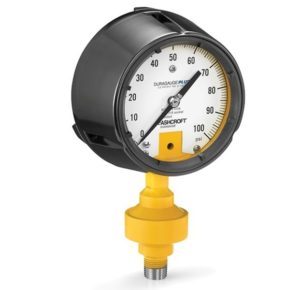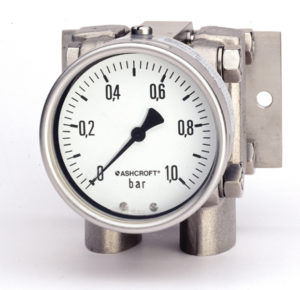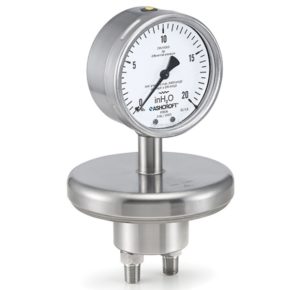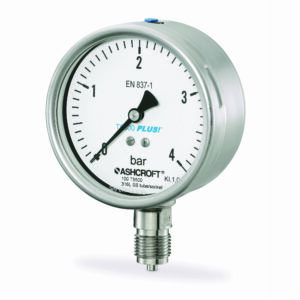

2462 Duragauge Pressure Gauge
2462 Duragauge Pressure Gauge
Data Sheets
- 📄 Data sheet process pressure gauge Duragauge 2462 🇬🇧
- 📄 Data sheet receiver pressure gauges 1377-1379-2462 🇬🇧
Installation + Maintenance
Declaration of Conformity
Selection Guides
Product + Technical Information
- 📄 TIP Measuring Pressure on Ammonia Applications 🇬🇧
- 📄 Product Information Page Welding an Instrument to a Diaphragm Seal ASH-PI-62B 🇬🇧
- 📄 Product Information Page Use of Steel Bourdon Tubes in Duragauges DU-PI-68 🇬🇧
- 📄 Product Information Page Stress Corrosion Cracking Resistance of K500 Monel vs Monel 400 in Hydrofluoric Acid DU-PI-73 🇬🇧
- 📄 Product Information Page Safety Concerns Using Repaired and Reconditioned Pressure Gauges ASH-PI-58A 🇬🇧
- 📄 Product Information Page Receiver Gauge and False Reading Gauge Dial ASH-PI-45 🇬🇧
- 📄 Product Information Page Product for Sour Oilfield NACE MRO0175 and Sour Petroleum Refining Operations NACE MRO0103 ASH-PI-60D 🇬🇧
- 📄 Product Information Page Magnetism of Nickel Copper Alloy DU-PI-64 🇬🇧
- 📄 Product Information Page High pressure Connection ASH-PI-61A 🇬🇧
- 📄 Product Information Page Gauges and Diaphragm Seals for Hydrogen Service DU-PI-46 🇬🇧
- 📄 Product Information Page Gauge Throttle Screw Selection ASH-PI-7A 🇬🇧
- 📄 Product Information Page Gauge Storage and Shelf Life ASH-PI-59 🇬🇧
- 📄 Product Information Page Gauge Safety ASH-PI-36 🇬🇧
- 📄 Product Information Page Gauge Low Temperature and Cryogenic Instrument ASH-PI-21D 🇬🇧
- 📄 Product Information Page Duragauge Safety Results on Solid Front Gauge DU-PI-32 🇬🇧
- 📄 Product Information Page Duragauge Movement Repair DU-PI-61C 🇬🇧
- 📄 Product Information Page Duragauge Dial Testing DU-PI-42 🇬🇧
- 📄 Product Information Page Duragauge Bourdon Tubing DU-PI-25A 🇬🇧
- 📄 Product Information Page Bourdon Rupture Proof Overpressure ASH-42D 🇬🇧
- 📄 Product Information Page Ammonia Applications ASH-PI-52 🇬🇧
- 📄 Product Information Page 316 Stainless Steel Bourdon Tube Hysterisis Error DU-PI-48B 🇬🇧
- 📄 Product Information Page 1/4″ High Pressure Tubing Connection DU-PI-24A 🇬🇧
- 📄 Custom dial artwork submital – ASH-PI-63 🇬🇧
Drawings + Models
Key Features
Teflon®-coated, 400 stainless steel adjustable Rotary movement
Wide selection of Bourdon tube materials, pressure connections and pressure ranges
Easily adjustable micrometer pointer
PLUS!™ Performance (optional)
Markets & Applications
Water and Wastewater
Waterjets and Waterblasters
Chemical and Petrochemical
Oil and Gas
Natural Gas Transmission and LNG
Refinery
Offshore Oil and Gas
- Specifications
- Downloads
Process Connection Location
Lower
Lower back
Mounting
Flush
Stem
Surface
Process Connection Style
Threaded
Case Style
Solid front safety case with pressure relief back
Dial Size
6"
Accuracy
0.5% of span (ASME B40.100 Grade 2A)
Dampening
Throttle screw
PLUS!™ Performance
Pressure Type
Gauge pressure
Ranges
1 ... 2000 bar / 30000 psi
Vacuum
Compound
Wetted Parts Material
Bourdon tube bronze, socket brass
Stainless steel 316L (1.4404)
Monel
Ingress Protection
IP54
Case or Body Material
Polypropylene
Data Sheets
- 📄 Data sheet process pressure gauge Duragauge 2462 🇬🇧
- 📄 Data sheet receiver pressure gauges 1377-1379-2462 🇬🇧
Installation + Maintenance
Declaration of Conformity
Selection Guides
Product + Technical Information
- 📄 TIP Measuring Pressure on Ammonia Applications 🇬🇧
- 📄 Product Information Page Welding an Instrument to a Diaphragm Seal ASH-PI-62B 🇬🇧
- 📄 Product Information Page Use of Steel Bourdon Tubes in Duragauges DU-PI-68 🇬🇧
- 📄 Product Information Page Stress Corrosion Cracking Resistance of K500 Monel vs Monel 400 in Hydrofluoric Acid DU-PI-73 🇬🇧
- 📄 Product Information Page Safety Concerns Using Repaired and Reconditioned Pressure Gauges ASH-PI-58A 🇬🇧
- 📄 Product Information Page Receiver Gauge and False Reading Gauge Dial ASH-PI-45 🇬🇧
- 📄 Product Information Page Product for Sour Oilfield NACE MRO0175 and Sour Petroleum Refining Operations NACE MRO0103 ASH-PI-60D 🇬🇧
- 📄 Product Information Page Magnetism of Nickel Copper Alloy DU-PI-64 🇬🇧
- 📄 Product Information Page High pressure Connection ASH-PI-61A 🇬🇧
- 📄 Product Information Page Gauges and Diaphragm Seals for Hydrogen Service DU-PI-46 🇬🇧
- 📄 Product Information Page Gauge Throttle Screw Selection ASH-PI-7A 🇬🇧
- 📄 Product Information Page Gauge Storage and Shelf Life ASH-PI-59 🇬🇧
- 📄 Product Information Page Gauge Safety ASH-PI-36 🇬🇧
- 📄 Product Information Page Gauge Low Temperature and Cryogenic Instrument ASH-PI-21D 🇬🇧
- 📄 Product Information Page Duragauge Safety Results on Solid Front Gauge DU-PI-32 🇬🇧
- 📄 Product Information Page Duragauge Movement Repair DU-PI-61C 🇬🇧
- 📄 Product Information Page Duragauge Dial Testing DU-PI-42 🇬🇧
- 📄 Product Information Page Duragauge Bourdon Tubing DU-PI-25A 🇬🇧
- 📄 Product Information Page Bourdon Rupture Proof Overpressure ASH-42D 🇬🇧
- 📄 Product Information Page Ammonia Applications ASH-PI-52 🇬🇧
- 📄 Product Information Page 316 Stainless Steel Bourdon Tube Hysterisis Error DU-PI-48B 🇬🇧
- 📄 Product Information Page 1/4" High Pressure Tubing Connection DU-PI-24A 🇬🇧
- 📄 Custom dial artwork submital - ASH-PI-63 🇬🇧
Drawings + Models
- Category: Process Gauges

