
82 Threaded Isolation Ring
82 Threaded Isolation Ring
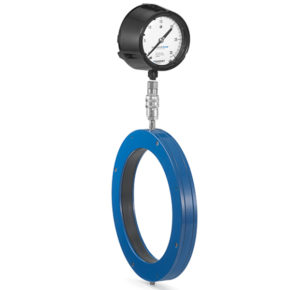
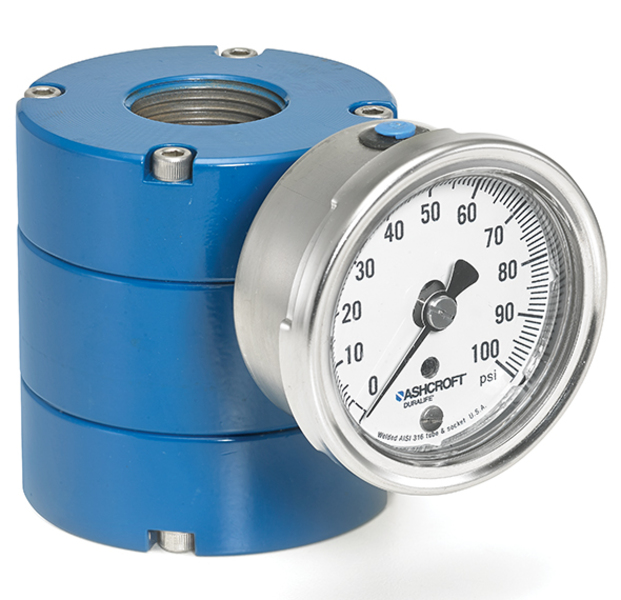
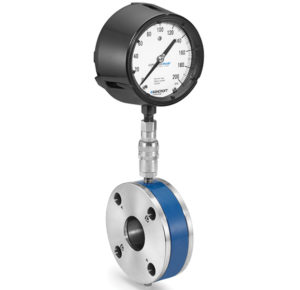
The Ashcroft® 82 isolation ring is threaded in-line with process piping.
Features & Properties
Use & Application
Downloads
Features & Properties
Use & Application
The Ashcroft® 82 isolation ring is ideal where process protection and reliability is essential:
Downloads
Data Sheets
Product + Technical Information
Safety Data Sheets
The Ashcroft® 82 isolation ring is threaded in-line with process piping. It is designed for threaded piping systems to protect pressure measuring instruments. The ring-design eliminates process accumulation, assuring accurate readings.
Key Features
Safe Quick Release™ (optional) enables instrument removal without loss of fill or process shutdown
Needle valve (optional) dampens pulsation effects
360° sensing flexible inner-liner; no process deadleg
Markets & Applications
Pulp and Paper
Water and Wastewater
Mining
- Specifications
- Downloads
Instrument Connection Style
Threaded
Pressure Rating
PN10
Wetted Parts Material
Flexible Liner: Buna, PTFE, EPDM, Natural rubber, and Viton®
End Plate: Carbon steel, 316L Stainless Steel, PVDF, Acetal
Case or Body Material
Steel, powder coated
Stainless steel 316L (1.4404)
Process Connection Size
1/2" ... 2"
Process Connection Style
Threaded
Accuracy
Added Tolerance ±0.5% typical
Data Sheets
Product + Technical Information
Safety Data Sheets
- Category: Isolation Rings
We’re glad to be there for you personally.
Siamo personalmente a vostra disposizione!
Nous sommes personnellement là pour vous.
Şahsen yanınızda olmaktan mutluluk duyuyoruz.
We zijn blij dat we er persoonlijk voor u kunnen zijn.
Wir sind persönlich für Sie da!
Siamo personalmente a vostra disposizione!
Nous sommes personnellement là pour vous!
Select your Region!


