
AVC-1000 and AVC-3000 Pressure Volume Controller
AVC-1000 and AVC-3000 Pressure Volume Controller
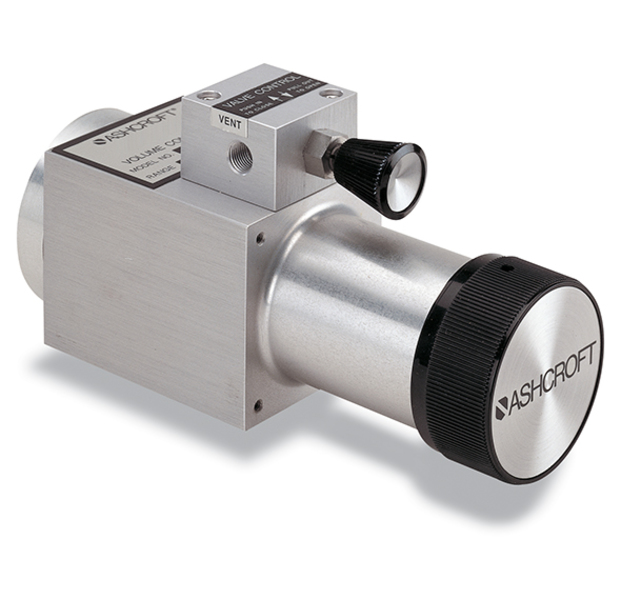
The Ashcroft® AVC-1000 and AVC-3000 pressure volume controllers provide a means to precisely set pressures within a closed pneumatic system.
Features & Properties
Use & Application
Downloads
Features & Properties
Use & Application
The AVC-1000 and AVC-3000 pressure volume controllers provides precision on applications:
Downloads
Data Sheets
Installation + Maintenance
Product + Technical Information
The Ashcroft® AVC-1000 and AVC-3000 pressure volume controllers provide a means to precisely set pressures within a closed pneumatic system. Providing quick-and-easy operation, models are paired with test gauges, creating a reliable standard for calibration and test purposes.
Key Features
Does not require compressed gas source to generate low pressure less than 70 mbar
Mechanical rotation is directly proportional to volume change due to piston travel
Integral balance valve equalizes pressure and acts as pressure-relief valve
Precision pressure adjustment between vacuum and 210 bar
Markets & Applications
- Specifications
- Downloads
Mechanical Rotation
AVC-1000: (31)
AVC-3000: (61)
Ranges
AVC-1000: -1 ... 70 bar
AVC-3000: -1 ... 210 bar
Wetted Parts Material
Aluminum body, Stainless steel, Brass, Teflon®, Delrin®, and Buna-N®
Process Connection Size
1/8 NPT female
Temperature Rating
0 ... 49°C
Resolution
AVC-3000: 0.034 mbar
AVC-1000: 0.017 mbar
Data Sheets
Installation + Maintenance
Product + Technical Information
- Category: Hand Pumps and Controllers
We’re glad to be there for you personally.
Siamo personalmente a vostra disposizione!
Nous sommes personnellement là pour vous.
Şahsen yanınızda olmaktan mutluluk duyuyoruz.
We zijn blij dat we er persoonlijk voor u kunnen zijn.
Wir sind persönlich für Sie da!
Siamo personalmente a vostra disposizione!
Nous sommes personnellement là pour vous!
Select your Region!


