
F5513 Differential Pressure Switch
F5513 Differential Pressure Switch
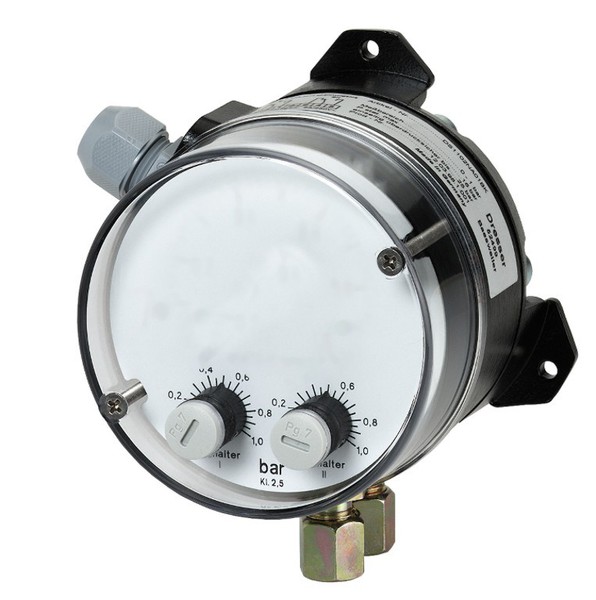
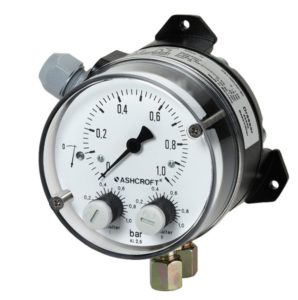
The Ashcroft® F5513 differential pressure switch is used for monitoring differential pressure between two separate pressure sources.
Features & Properties
Use & Application
Downloads
Features & Properties
Use & Application
The F5513 differential switch is ideal where safe and reliable pressure measurement is essential:
Downloads
Data Sheets
Installation + Maintenance
Declaration of Conformity
The Ashcroft® F5513 differential pressure switch with one or two SPDT microswitches is used for monitoring differential pressure between two separate pressure sources. Designed for long service life. A perfect solution for challenging application and installation requirements.
Key Features
Selection of wetted materials
Wide selection of Bourdon tube materials, pressure connections and pressure ranges
Cost effective
Precise repeatability of setpoint
Markets & Applications
Energy
Machine Automation
Pulp and Paper
HVAC-R
Filter Monitoring
- Specifications
- Downloads
Pressure Type
Differential pressure
Wetted Parts Material
Stainless steel 303 (1.4305)
Aluminium
Aluminium Hart Coat®
Ingress Protection
IP54
Case or Body Material
Stainless steel 303 (1.4305)
Aluminium
Aluminium Hart Coat®
Process Connection Location
Lower
Static Pressure
up to PN25
Mounting
Stem
Surface
Process Connection Style
Tube stub male
Threaded
Case Style
Open front case with Macrolon window cover
Dial Size
100 mm
Switch Style
Microswitch SPDT
Accuracy
2.5% of span (class 2.5)
Ranges
0.6 ... 25 bar
Data Sheets
Installation + Maintenance
Declaration of Conformity
- Category: Differential Gauges, Industrial Gauges
We’re glad to be there for you personally.
Siamo personalmente a vostra disposizione!
Nous sommes personnellement là pour vous.
Şahsen yanınızda olmaktan mutluluk duyuyoruz.
We zijn blij dat we er persoonlijk voor u kunnen zijn.
Wir sind persönlich für Sie da!
Siamo personalmente a vostra disposizione!
Nous sommes personnellement là pour vous!
Select your Region!

