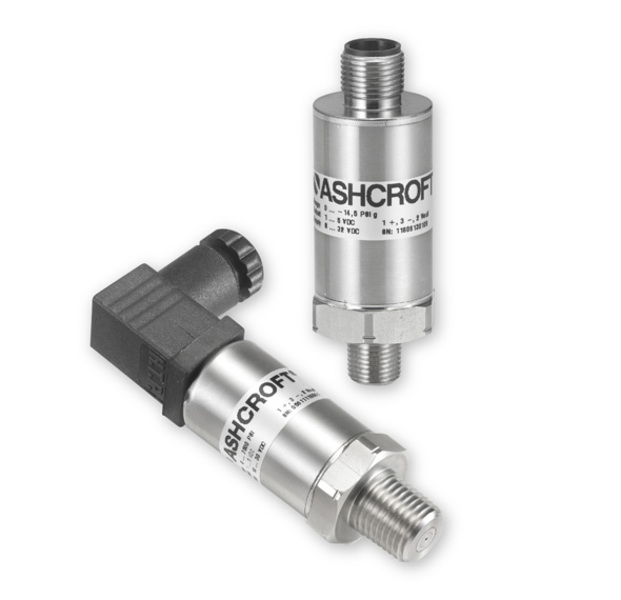
Key Features
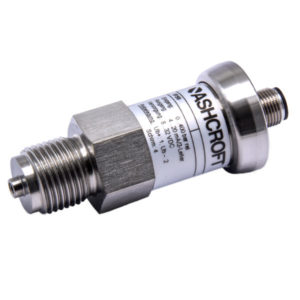
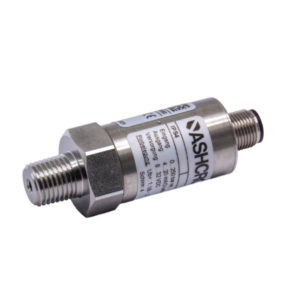
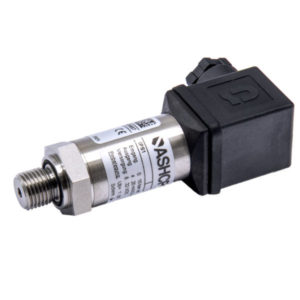
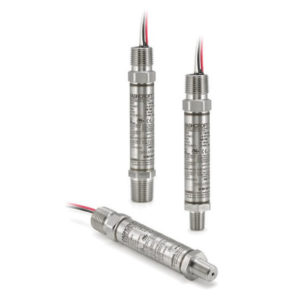
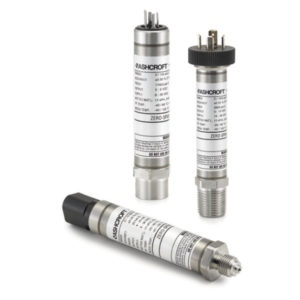
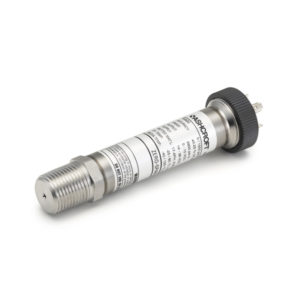
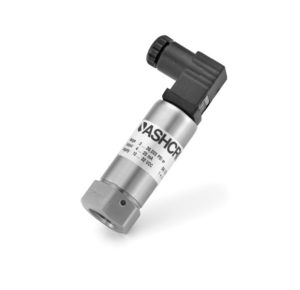
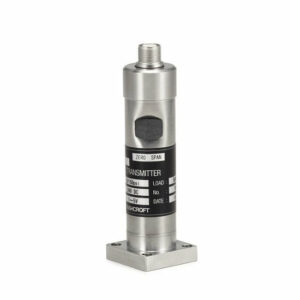
Selection of pressure and electrical connection options suited to meet CANbus applications
Customizable communication protocols available
CANbus interface output via CANopen® or SAE J1939 protocol
Rugged stainless steel construction
Markets & Applications
Machine Automation
Hydraulics and Pneumatics
Off-Road Equipment
Pumps and Compressors
Process Connection Style
Threaded
Durability
>10 million cycles
Accuracy
0.25% of span
0.5% of span
Pressure Type
Gauge pressure
Ranges
Vacuum
Compound
1 ... 1400 bar / 20000 psi
Wetted Parts Material
Stainless steel 304 (1.4301)
Sensor stainless steel 17-4PH
Ingress Protection
IP67
IP65
IP69K (consult factory)
Case or Body Material
Stainless steel 304 (1.4301)
Electrical Termination
M12 Hirschmann® 993-172-100
Wire leads, PVC insulated
Mounting
Stem
Output Signal
CANbus
Dampening
Throttle screw
Stability
≤±0.1% span/year at reference conditions
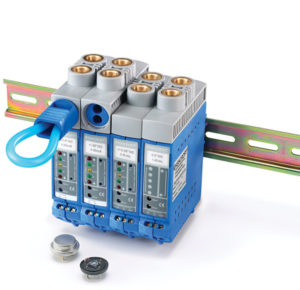
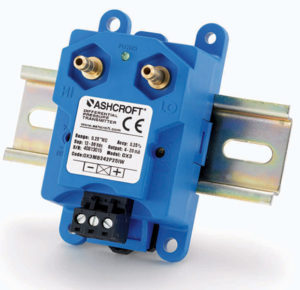
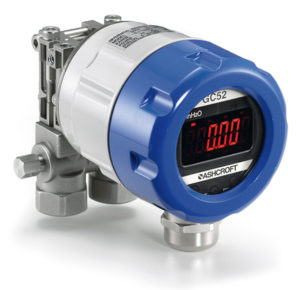
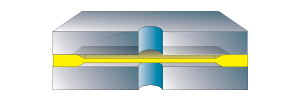
Equipped with a highly reliable and accurate sensing element, featuring the patented Ashcroft® Si-Glass™ sensor, Ashcroft offers a range of differential pressure transmitters specifically designed and developed for use in the cleanroom industry. Using an ultra-thin single crystal diaphragm, Ashcroft differential pressure transmitters offer inherent sensor repeatability and stability, making them stand out as highly accurate, long-term stable and reliable measurement instruments for cleanroom pressure monitoring.
The silicon diaphragm sensor is free of adhesives or other organic materials that are commonly used in differential pressure measurement technology and contribute to a drift in the measured value acquisition or a mechanical reduction in the measurement accuracy.
Ashcroft differential pressure transmitters incorporate the TruAccuracy™ specification. Ashcroft’s accuracy claim is based solely on terminal endpoint methodology and not on statistically derived accuracy claims’.
TruAccuracy™ means that Ashcroft differential pressure transmitters include zero offset, non-linearity, hysteresis, non-repeatability, zero offset and span adjustment error in their accuracy statement.
The user thus has a ready-to-install device at his disposal that does not require any initial calibration after installation. This considerably reduces the time and costs involved.
Other commercially available measuring devices usually do not include information on zero point deviation and span error in their accuracy specifications, so that these measurement errors (up to ±1.00%) must be added to the accuracy in order to achieve reliable performance characteristics.