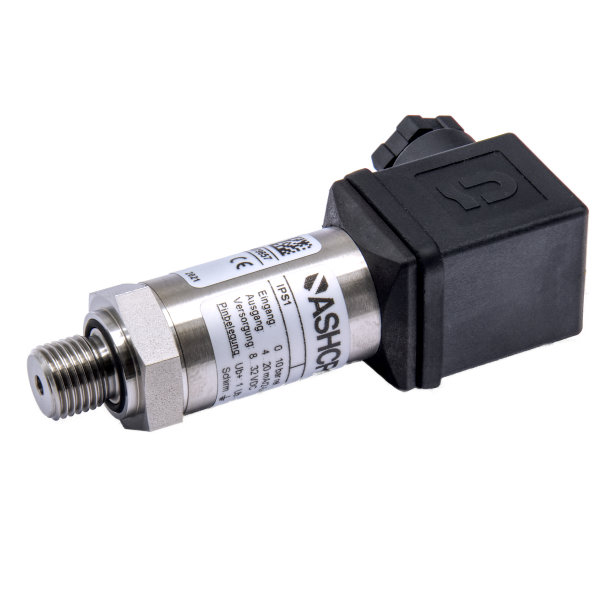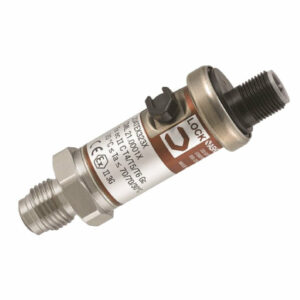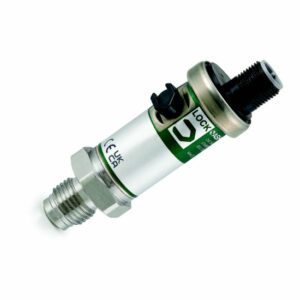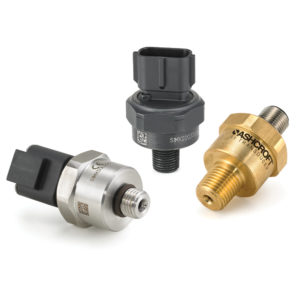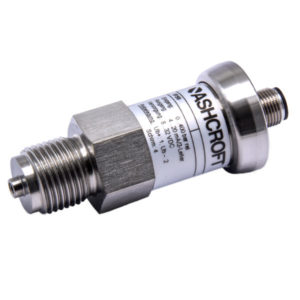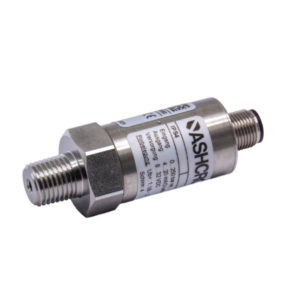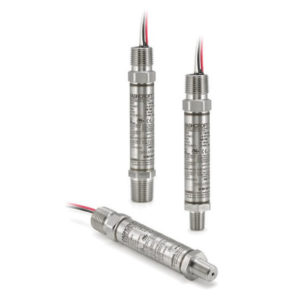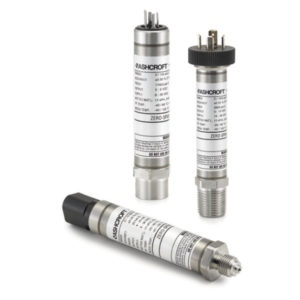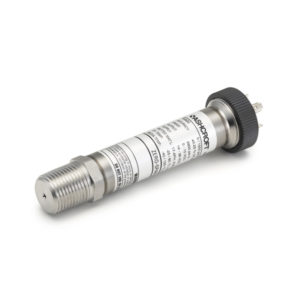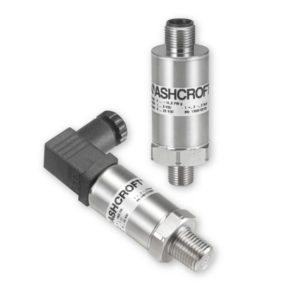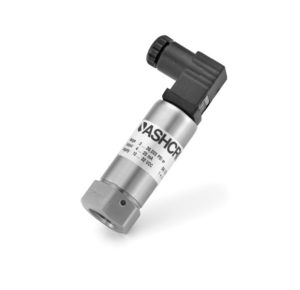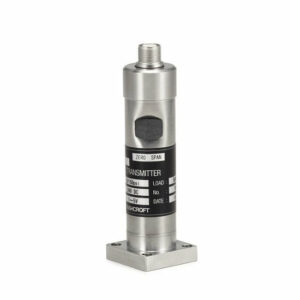

OEM Pressure Transducer IPS1 and IPS2 for General Applications
OEM Pressure Transducer IPS1 and IPS2 for General Applications
- Construction machinery
- Agricultural equipment
- Engine monitoring
- Hydraulic & pneumatic sensing
- Renewable Energy
- Machine equipment
Data Sheets
Installation + Maintenance
Declaration of Conformity
- 📄 EU Declaration of Conformity CE IPS1 … IPS6 🇬🇧
- 📄 ATEX EU DoC IPS 08-2022 🇩🇪🇬🇧
- 📄 EU DoC Transducer IPS1-IPS6 09-2022 🇩🇪🇬🇧
Industry Brochures
Product + Technical Information
Key Features
Compact, rugged construction
Dry ceramic sensor element is corrosion resistant and can be cleaned for medical and special gases application
Wide assortment of analog outputs, pressure and electrical connections
Cost effective
Markets & Applications
HVAC-R
Machine Automation
Pumps and Compressors
- Specifications
- Downloads
Mounting
Stem
Electrical Termination
Hirschmann EN 175301-803 Form A
Hirschmann EN 175301-803 Form C
M12 Hirschmann® 993-172-100
Wire leads, PVC insulated
Dampening
Throttle screw
Process Connection Style
Threaded
Output Signal
4-20 mA (2-wire)
0-5 VDC (3-wire)
0-10 VDC (3-wire)
Many other voltage outputs
Accuracy
0.5% of span
1% of span
Pressure Type
Gauge pressure
Absolute pressure
Ranges
1 ... 400 bar / 6000 psi
Wetted Parts Material
Viton®
Ceramics
Stainless steel 304 (1.4301)
Ingress Protection
IP65
IP67
Stability
≤±0.3% span/year at reference conditions
Case or Body Material
Stainless steel 304 (1.4301)
Durability
>100 million cycles
Data Sheets
Installation + Maintenance
Declaration of Conformity
- 📄 EU Declaration of Conformity CE IPS1 ... IPS6 🇬🇧
- 📄 ATEX EU DoC IPS 08-2022 🇩🇪🇬🇧
- 📄 EU DoC Transducer IPS1-IPS6 09-2022 🇩🇪🇬🇧
Industry Brochures
Product + Technical Information
- Category: Transducer / Transmitter

