
PL01 Pressure Limiting Valve
PL01 Pressure Limiting Valve
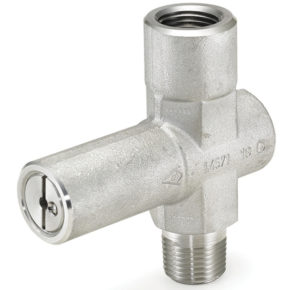
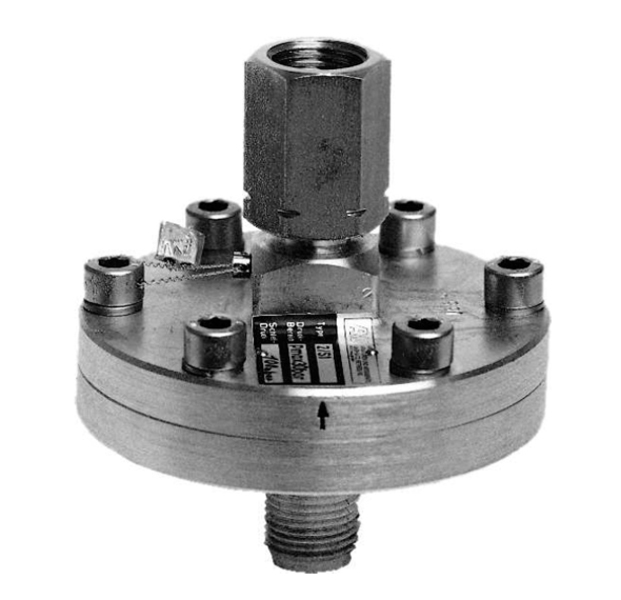
The Ashcroft® pressure limiting valve-PL01 protects the low pressure instrument assembly from severe pressure spikes.
Features & Properties
Use & Application
Downloads
Features & Properties
Use & Application
The low pressure limiters are ideal where process protection is essential:
Process Market:
- Oil and Gas
- Refineries
- Chemical and Petrochemical
Process Applications:
- Biogas
Downloads
Data Sheets
The Ashcroft® low pressure limiting valve-PL01 is designed to protect sensitive instrumentation by limiting pressure up to a specific set value and will only open once pressure drops down below a certain value. This device is often used to mitigate pressure spikes or other momentatary pressure events that can damage instruments like pressure gauges, switches and transmitters.
Key Features
For use with air and clean gases only
Automatically resets after 30% drop in pressure from set point
Material certificates to EN 10204:2004 3.1
Available set point from 10 to 550 mbar
Prevents damage, loss of accuracy and / or rupture of sensing elements
Isolates and protects instrument assembly from pressure surges beyond the full scale of the measurement instrument
Markets & Applications
Chemical and Petrochemical
Energy
Oil and Gas
Machine Automation
Hydrogen and Technical Gases
Pumps and Compressors
- Specifications
- Downloads
Pressure Rating
PN100
Process Connection Size
½ NPT
G ½
Temperature Rating
max. 60°C
Wetted Parts Material
Stainless steel 316Ti (1.4571)
Monel
Process Connection Style
Threaded
Instrument Connection Style
Threaded
Data Sheets
- Category: Pressure Limiters
We’re glad to be there for you personally.
Siamo personalmente a vostra disposizione!
Nous sommes personnellement là pour vous.
Şahsen yanınızda olmaktan mutluluk duyuyoruz.
We zijn blij dat we er persoonlijk voor u kunnen zijn.
Wir sind persönlich für Sie da!
Siamo personalmente a vostra disposizione!
Nous sommes personnellement là pour vous!
Select your Region!


