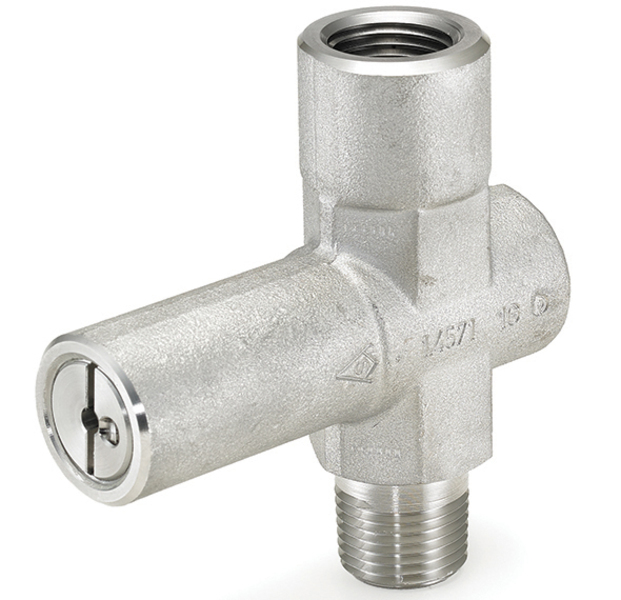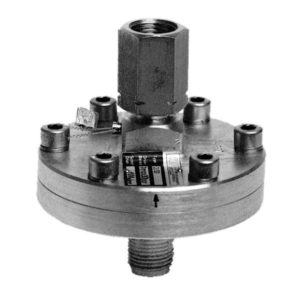
Key Features
Material certificates to EN 10204:2004 3.1
Prevents damage, loss of accuracy and / or rupture of sensing elements
Isolates and protects instrument assembly from pressure surges beyond the full scale of the measurement instrument
NACE compliant assemblies
Available set point from 0.4 to 600 bar
Automatically resets after 25% drop in pressure from set point
Markets & Applications
Chemical and Petrochemical
Energy
Oil and Gas
Water and Wastewater
Machine Automation
Hydrogen and Technical Gases
Pumps and Compressors
Dampening
Built-in pressure snubbing design
Process Connection Style
Threaded
Instrument Connection Style
Threaded
Pressure Rating
PN600
Process Connection Size
½ NPT
G ½
M20x1.5
Wetted Parts Material
Monel
Stainless steel 316Ti (1.4571)
Hastelloy C
Stainless steel 316L (1.4404)
Temperature Rating
max. 80°C
Equipped with a highly reliable and accurate sensing element, featuring the patented Ashcroft® Si-Glass™ sensor, Ashcroft offers a range of differential pressure transmitters specifically designed and developed for use in the cleanroom industry. Using an ultra-thin single crystal diaphragm, Ashcroft differential pressure transmitters offer inherent sensor repeatability and stability, making them stand out as highly accurate, long-term stable and reliable measurement instruments for cleanroom pressure monitoring.
The silicon diaphragm sensor is free of adhesives or other organic materials that are commonly used in differential pressure measurement technology and contribute to a drift in the measured value acquisition or a mechanical reduction in the measurement accuracy.
Ashcroft differential pressure transmitters incorporate the TruAccuracy™ specification. Ashcroft’s accuracy claim is based solely on terminal endpoint methodology and not on statistically derived accuracy claims’.
TruAccuracy™ means that Ashcroft differential pressure transmitters include zero offset, non-linearity, hysteresis, non-repeatability, zero offset and span adjustment error in their accuracy statement.
The user thus has a ready-to-install device at his disposal that does not require any initial calibration after installation. This considerably reduces the time and costs involved.
Other commercially available measuring devices usually do not include information on zero point deviation and span error in their accuracy specifications, so that these measurement errors (up to ±1.00%) must be added to the accuracy in order to achieve reliable performance characteristics.