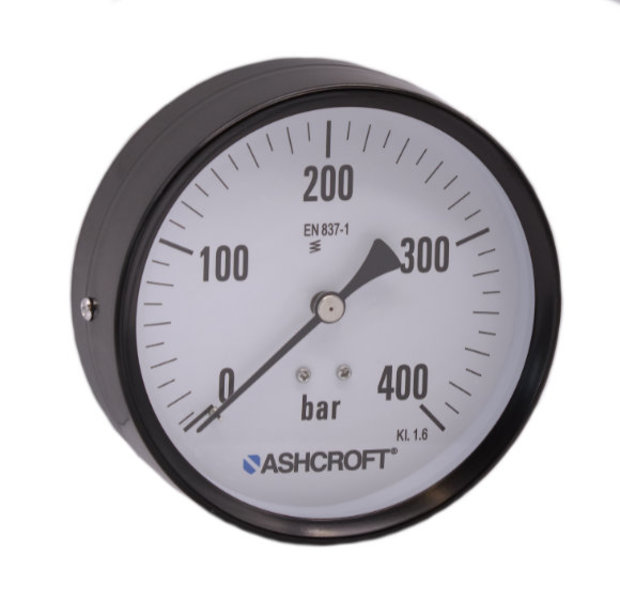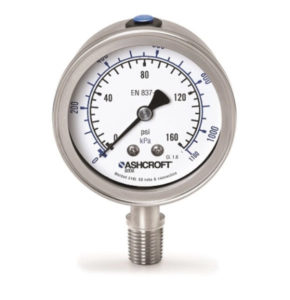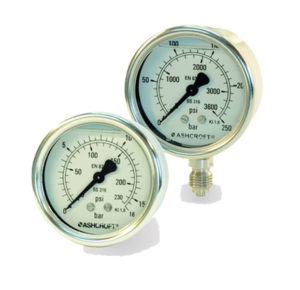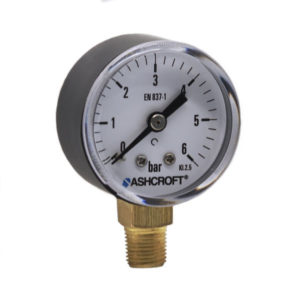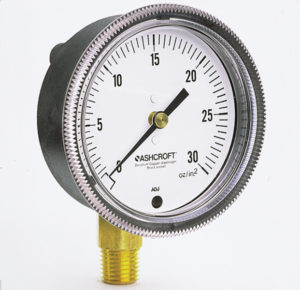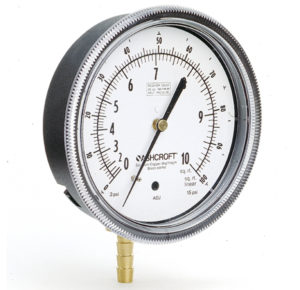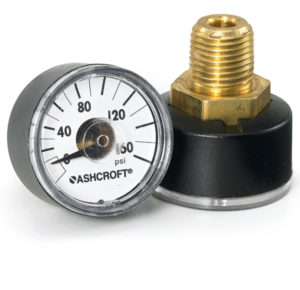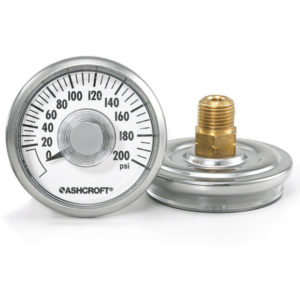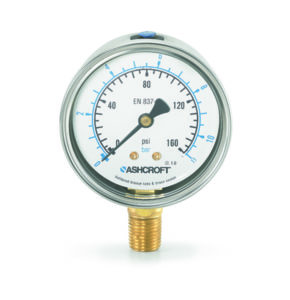

UG2 Utility Gauge Copper-Alloy With Steel Case
UG2 Utility Gauge Copper-Alloy With Steel Case
Ashcroft’s OEM pressure gauge product line is a co-ordinated range of products specifi cally designed for
pressure measurement in the industrial OEM industry.
Features & Properties
Use & Application
Downloads
Features & Properties
Use & Application
The Ashcroft UG2 OEM pressure gauge is ideal where reliable pressure measurement is essential:
Downloads
Data Sheets
Installation + Maintenance
Declaration of Conformity
Industry Brochures
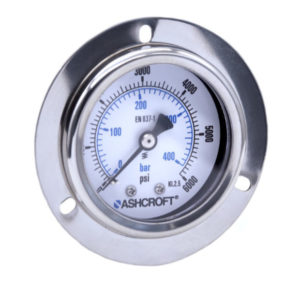
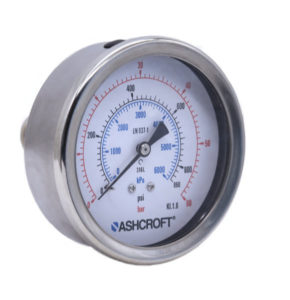
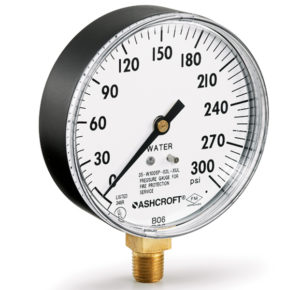
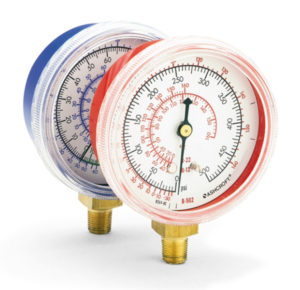
The Ashcroft® UG2 OEM pressure gauge is designed to meet standard EN 837-1, ensuring accuracy and long term performance. A perfect choice for hydraulic systems, compressors and many other OEM applications.
Key Features
Compliant to European pressure gauge standard EN 837-1
Custom dials available
Cost effective
Markets & Applications
HVAC-R
Machine Automation
Hydraulic Hand Tools
Filter regulators
Pool and spa filters
Hydraulics and Pneumatics
Hydrogen and Technical Gases
Pumps and Compressors
- Specifications
- Downloads
Mounting
Stem
Case Style
Open front case
Dampening
Throttle screw
Dial Size
40 mm
50 mm
80 mm
100 mm
63 mm
Ranges
Vacuum
Compound
1 ... 400 bar / 6000 psi
Process Connection Style
Threaded
Wetted Parts Material
Bourdon tube bronze, socket brass
Ingress Protection
IP54
Case or Body Material
Steel, powder coated
Accuracy
2.5% of span (class 2.5)
1% of span (class 1)
1.6% of span (class 1.6)
Process Connection Location
Centre back
Lower
Lower back
Pressure Type
Gauge pressure
Data Sheets
Installation + Maintenance
Declaration of Conformity
Industry Brochures
- Category: Industrial Gauges
We’re glad to be there for you personally.
Siamo personalmente a vostra disposizione!
Nous sommes personnellement là pour vous.
Şahsen yanınızda olmaktan mutluluk duyuyoruz.
We zijn blij dat we er persoonlijk voor u kunnen zijn.
Wir sind persönlich für Sie da!
Siamo personalmente a vostra disposizione!
Nous sommes personnellement là pour vous!
Select your Region!

