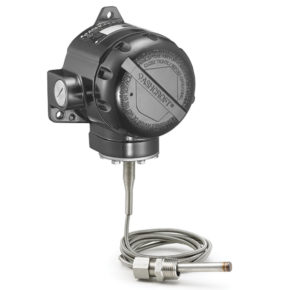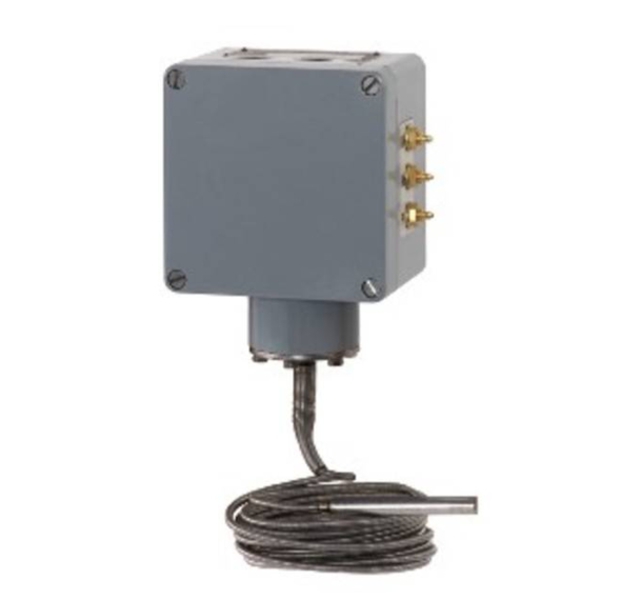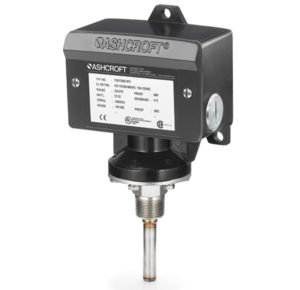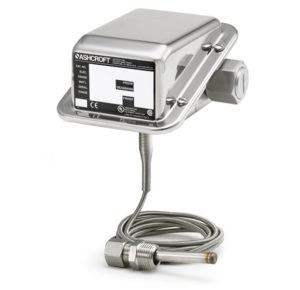

VT-Series Pneumatic Temperature Switch
VT-Series Pneumatic Temperature Switch
The Ashcroft® VT pneumatic temperature switch was designed for use with harsh applications where uncompromising protection is required
Features & Properties
Use & Application
Downloads
Features & Properties
Use & Application
The VP pneumatic temperature switch is ideal where accurate and reliable temperature measurement are essential:
Process Market:
- Chemical and Petrochemical industry
- Water and Sewage Treatment Facilities
- Food and beverage industry
Industrial Market:
- Machine and apparatus construction
Downloads
Data Sheets
Installation + Maintenance
The Ashcroft® VT pneumatic temperature switch is designed for use on tough applications where no electric power is available and uncompromising protection is required. The features of this switch along with its proven technology provide a stable, long-lasting product. Ideal for temperature control, safety shutdown or alarm operations.
Key Features
Direct or remote reading thermal systems
Adjustable setpoints from 0 ... 100% of range
Precise repeatability of setpoint
Markets & Applications
Water and Wastewater
Chemical and Petrochemical
- Specifications
- Downloads
Process Connection Style
Adjustable union
Fixed thread
Accuracy
1% of span
Switch Style
5/2 way pneumatic valve
Ranges
-40 ... 400°C
Setpoint
Single setpoint, fixed deadband
Wetted Parts Material
Stainless steel 316 (1.4401)
Ingress Protection
IP65
Case or Body Material
Epoxy coated aluminium
Process Connection Location
Lower
Stem length
2¾ ... 24˝ (70 ... 610 mm)
Mounting
2" pipe mounting
Stem
Surface
Line Length
Capillary lengths from 5 ... 25 ft (1.5 ... 7.5 m), consult factory for longer lengths
Data Sheets
Installation + Maintenance
- Category: Temperature Switches
We’re glad to be there for you personally.
Siamo personalmente a vostra disposizione!
Nous sommes personnellement là pour vous.
Şahsen yanınızda olmaktan mutluluk duyuyoruz.
We zijn blij dat we er persoonlijk voor u kunnen zijn.
Wir sind persönlich für Sie da!
Siamo personalmente a vostra disposizione!
Nous sommes personnellement là pour vous!
Select your Region!


