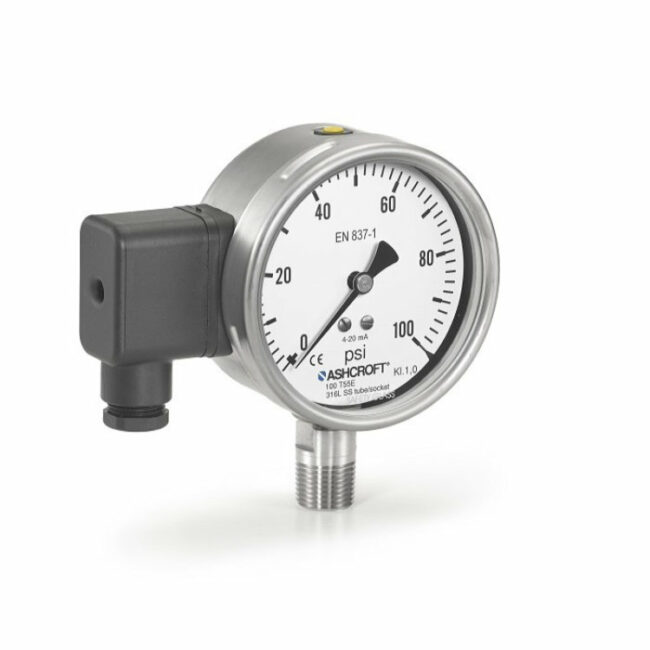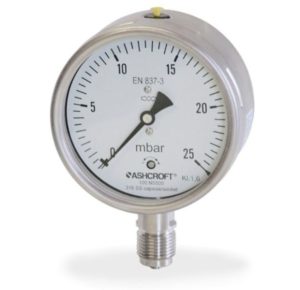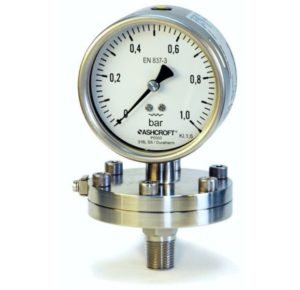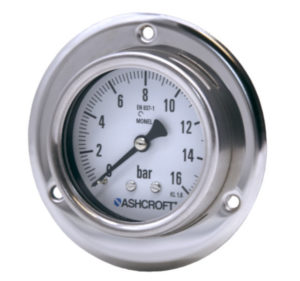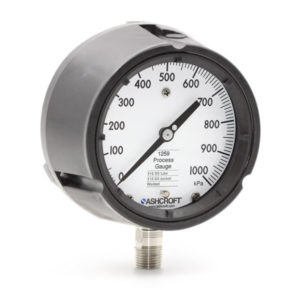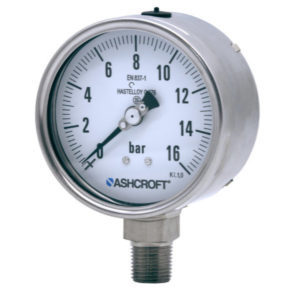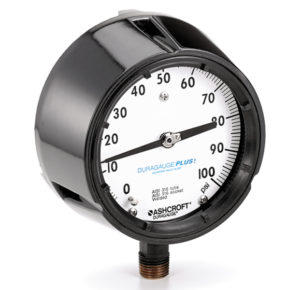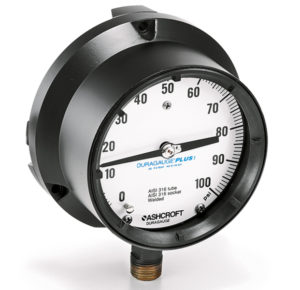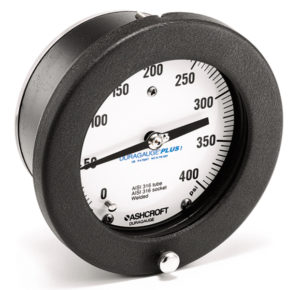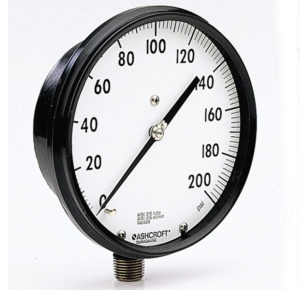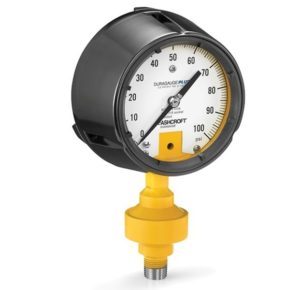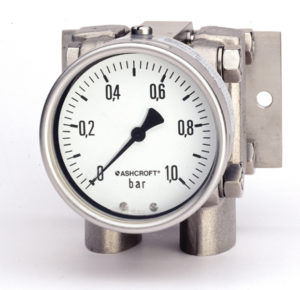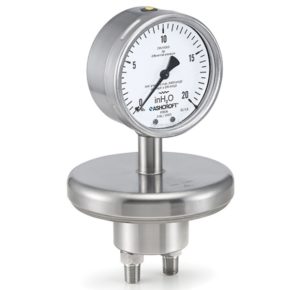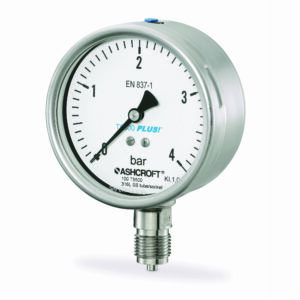

T5500E Process Gauge with Output
T5500E Process Gauge with Output
Data Sheets
- 📄 Fiches techniques T55E 🇫🇷
- 📄 Data sheet process pressure gauge with transmitter T5500E 🇬🇧
- 📄 Datenblatt Prozessmanometer mit Signalausgang T5500E 🇩🇪
Installation + Maintenance
Declaration of Conformity
- 📄 EU Declaration of Conformity CE KX1, KXD, KXF, T5500E 🇬🇧
- 📄 EU Konformitätserklärung CE KX1, KXD, KXF, T5500E 🇩🇪
Product + Technical Information
- 📄 tip-page-measuring-pressure-on-ammonia-appliations-tip-0001.pdf 🇫🇷
- 📄 Product Information Page 4-20mA Loop Power TR-PI-107A 🇬🇧
- 📄 TIP Measuring Pressure on Ammonia Applications 🇬🇧
- 📄 Product Information Page Safety Concerns Using Repaired and Reconditioned Pressure Gauges ASH-PI-58A 🇬🇧
- 📄 Product Information Page Gauge Throttle Screw Selection ASH-PI-7A 🇬🇧
Drawings + Models
Key Features
PLUS!™ Performance (optional)
Integral transmitter with 4-20 mA output
All-stainless steel movement
Easily adjustable micrometer pointer
Socket welded to case
Markets & Applications
Energy
Machine Automation
Hydrogen and Technical Gases
Pharmaceuticals
Pumps and Compressors
Pulp and Paper
- Specifications
- Downloads
Ingress Protection
IP65
Case or Body Material
Stainless steel 304 (1.4301)
Stainless steel 316L (1.4404)
Process Connection Style
Threaded
Case Style
Open front case with blow out (S1)
Solid front with full rear blowout back (S3)
Dial Size
100 mm
Accuracy
1% of span (class 1)
Process Connection Location
Lower
Pressure Type
Gauge pressure
Mounting
Flush
Stem
Dampening
Throttle screw
PLUS!™ Performance
Ranges
Vacuum
Compound
1 ... 1000 bar / 15000 psi
Wetted Parts Material
Sensor stainless steel 17-4PH
Stainless steel 316L (1.4404)
Data Sheets
- 📄 Fiches techniques T55E 🇫🇷
- 📄 Data sheet process pressure gauge with transmitter T5500E 🇬🇧
- 📄 Datenblatt Prozessmanometer mit Signalausgang T5500E 🇩🇪
Installation + Maintenance
Declaration of Conformity
- 📄 EU Declaration of Conformity CE KX1, KXD, KXF, T5500E 🇬🇧
- 📄 EU Konformitätserklärung CE KX1, KXD, KXF, T5500E 🇩🇪
Product + Technical Information
- 📄 tip-page-measuring-pressure-on-ammonia-appliations-tip-0001.pdf 🇫🇷
- 📄 Product Information Page 4-20mA Loop Power TR-PI-107A 🇬🇧
- 📄 TIP Measuring Pressure on Ammonia Applications 🇬🇧
- 📄 Product Information Page Safety Concerns Using Repaired and Reconditioned Pressure Gauges ASH-PI-58A 🇬🇧
- 📄 Product Information Page Gauge Throttle Screw Selection ASH-PI-7A 🇬🇧
Drawings + Models
- Category: Process Gauges

