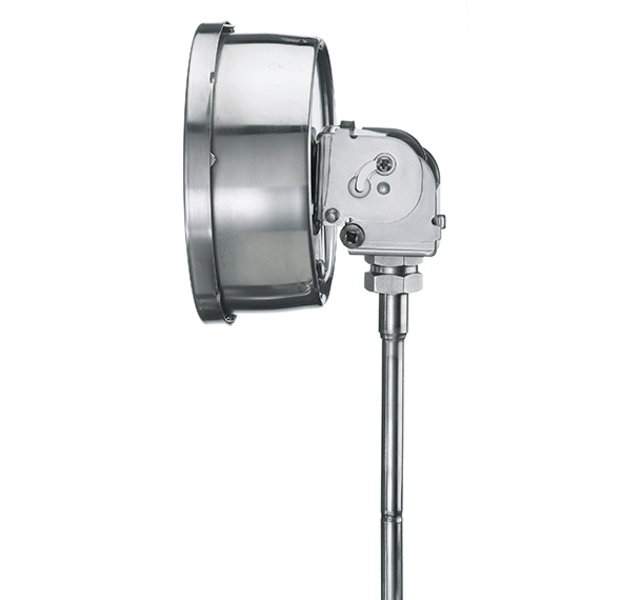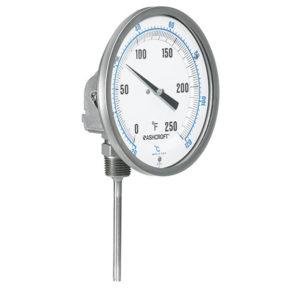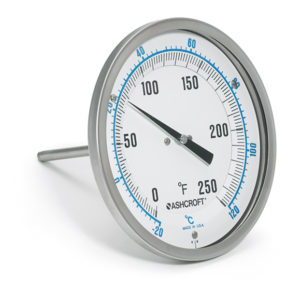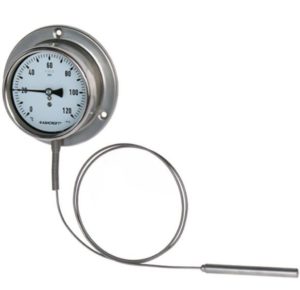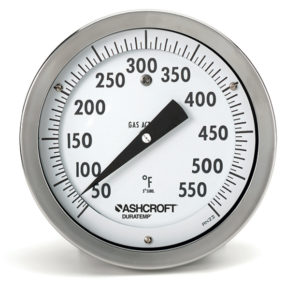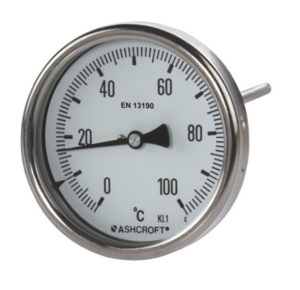

C-600B Duratemp Thermometer
C-600B Duratemp Thermometer
Process Market:
- Offshore Oil Rigs
- Chemical and Petrochemical Plants
- Water and Wastewater Pressure Control
- Pulp and Paper
- Refineries
- Power
Industrial Market:
- General Industrial
- Equipment Skids
- HVAC
Medical and Life Sciences:
- Pharmaceutical / Biotech
- Food and Beverage
Data Sheets
Installation + Maintenance
Industry Brochures
Drawings + Models
Key Features
Maxivision® dial for easy readability and parallax elimination
Silicone dampened coil for reduction of pointer flutter on high vibration application and provides improved response times
Exclusive movementless design; eliminates wear and increases product life
Display can be rotated 360-degrees for easy readability
Wide selection of differential pressure ranges
Markets & Applications
Chemical and Petrochemical
Energy
Pulp and Paper
Pharmaceuticals
Water and Wastewater
- Specifications
- Downloads
Mounting
Stem
Dampening
Silicone gel dampened system
Process Connection Style
Adjustable union
Accuracy
1% of span ASME B40.200 (B40.3 Grade A)
Case Style
Case with bayonet ring
Dial Size
4 1/2"
Ranges
-200 ... 650°C
Stem length
6 ... 36" (152 ... 914 mm)
Wetted Parts Material
Stainless steel 316 (1.4401)
Ingress Protection
IP54
Case or Body Material
Stainless steel 304 (1.4301)
Process Connection Location
Everyangle™
Data Sheets
Installation + Maintenance
Industry Brochures
Drawings + Models
- Category: Indicating Thermometers

