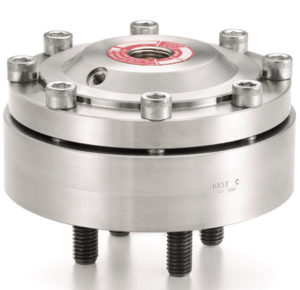
Key Features
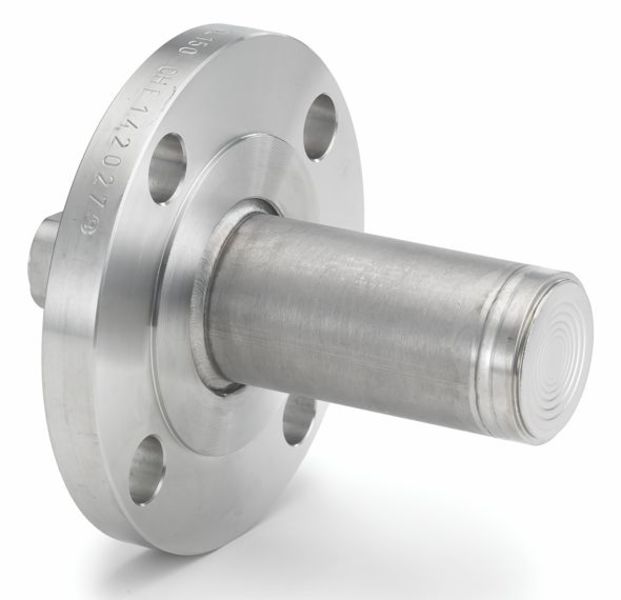
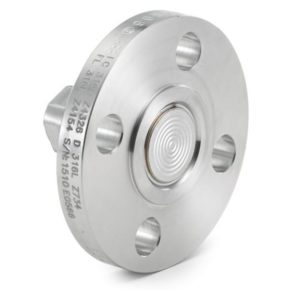
Flush-mounted diaphragm prevents clogging of process media
NACE compliant assemblies
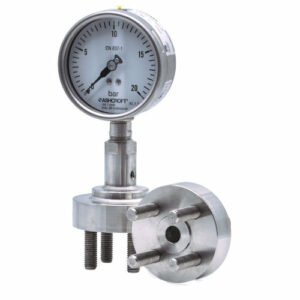
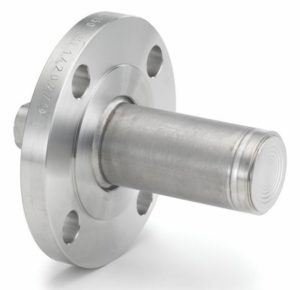
Designed for flush mounting in insulated pipes and tanks
Selection of wetted materials
Rupture protected due to embedded convolution behind the diaphragm
NACE compliant (optional)
Material certificates to EN 10204:2004 3.1
Markets & Applications
Pumps and Compressors
Chemical and Petrochemical
Energy
Biogas and Biodiesel
Oil and Gas
Refinery
NACE Compliant Processes (Sour Gas Separation)
Machine Automation
Instrument Connection Style
Welded
Threaded
Wetted Parts Material
PTFE coated
Stainless steel 316L (1.4404)
Tantalum
Hastelloy C
Case or Body Material
Stainless steel 316L (1.4404)
Pressure Rating
PN10 ... PN40
Process Connection Style
Flange according to EN 1092-1
Accuracy
Added Tolerance ±0.5% typical
Process Connection Size
DN50 ... DN100
Equipped with a highly reliable and accurate sensing element, featuring the patented Ashcroft® Si-Glass™ sensor, Ashcroft offers a range of differential pressure transmitters specifically designed and developed for use in the cleanroom industry. Using an ultra-thin single crystal diaphragm, Ashcroft differential pressure transmitters offer inherent sensor repeatability and stability, making them stand out as highly accurate, long-term stable and reliable measurement instruments for cleanroom pressure monitoring.
The silicon diaphragm sensor is free of adhesives or other organic materials that are commonly used in differential pressure measurement technology and contribute to a drift in the measured value acquisition or a mechanical reduction in the measurement accuracy.
Ashcroft differential pressure transmitters incorporate the TruAccuracy™ specification. Ashcroft’s accuracy claim is based solely on terminal endpoint methodology and not on statistically derived accuracy claims’.
TruAccuracy™ means that Ashcroft differential pressure transmitters include zero offset, non-linearity, hysteresis, non-repeatability, zero offset and span adjustment error in their accuracy statement.
The user thus has a ready-to-install device at his disposal that does not require any initial calibration after installation. This considerably reduces the time and costs involved.
Other commercially available measuring devices usually do not include information on zero point deviation and span error in their accuracy specifications, so that these measurement errors (up to ±1.00%) must be added to the accuracy in order to achieve reliable performance characteristics.