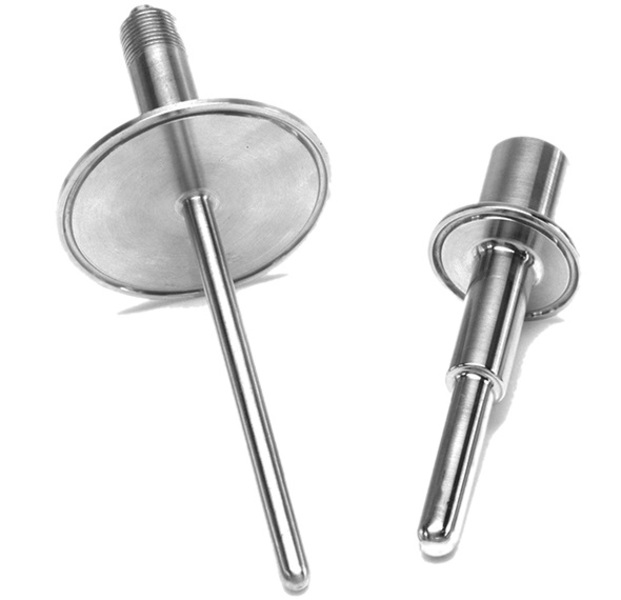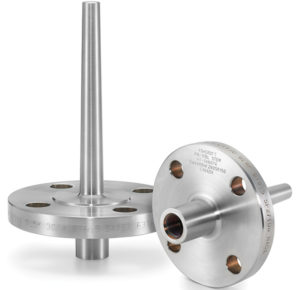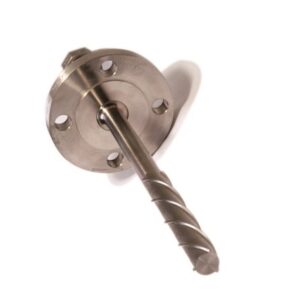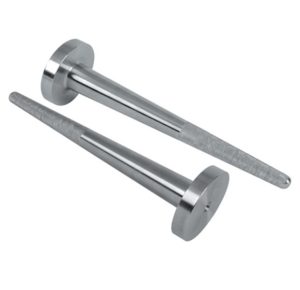
Key Features
One-piece bar stock construction
Testing and certifications including Wake Frequency Calculations per ASME PTC 19.3 TW-2016
Stamped with mil traceable materials and heat number
Customizable configurations
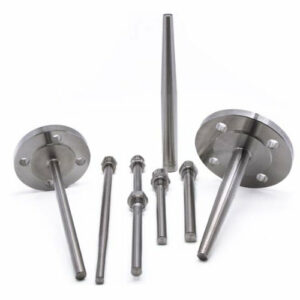
Full penetration welds on flanged thermowell
Selection of wetted materials
Material certificates to EN 10204:2004 3.1
Markets & Applications
Food and Beverage
Pharmaceuticals
Bore Size
6.6 mm (0.260"), 9.8 mm (0.385"), 6 mm, 8 mm
Options
Cap and Chain
Lagging
Surface finish
Process Connection Size
1", 1 1/2", 2"
Wetted Parts Material
Duplex
Inconel
Hastelloy B
Titanium
Stainless steel 316L (1.4435)
Stainless steel 304 (1.4301)
Hastelloy C
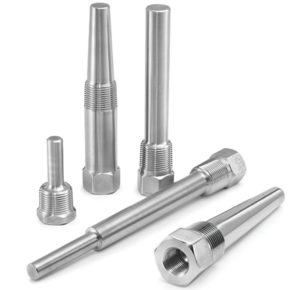
Shank Style
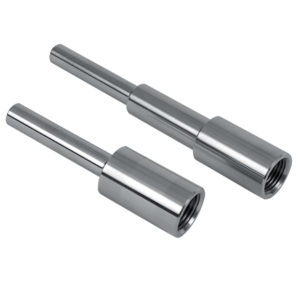
Stepped
Straight
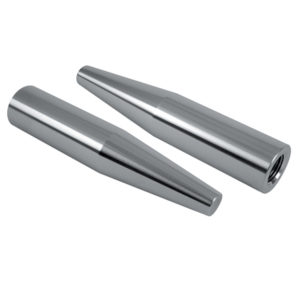
Tapered
Process Connection Style
Tri-Clamp® (DIN 32676-A/B/C)
Instrument Connection Style
Threaded
Equipped with a highly reliable and accurate sensing element, featuring the patented Ashcroft® Si-Glass™ sensor, Ashcroft offers a range of differential pressure transmitters specifically designed and developed for use in the cleanroom industry. Using an ultra-thin single crystal diaphragm, Ashcroft differential pressure transmitters offer inherent sensor repeatability and stability, making them stand out as highly accurate, long-term stable and reliable measurement instruments for cleanroom pressure monitoring.
The silicon diaphragm sensor is free of adhesives or other organic materials that are commonly used in differential pressure measurement technology and contribute to a drift in the measured value acquisition or a mechanical reduction in the measurement accuracy.
Ashcroft differential pressure transmitters incorporate the TruAccuracy™ specification. Ashcroft’s accuracy claim is based solely on terminal endpoint methodology and not on statistically derived accuracy claims’.
TruAccuracy™ means that Ashcroft differential pressure transmitters include zero offset, non-linearity, hysteresis, non-repeatability, zero offset and span adjustment error in their accuracy statement.
The user thus has a ready-to-install device at his disposal that does not require any initial calibration after installation. This considerably reduces the time and costs involved.
Other commercially available measuring devices usually do not include information on zero point deviation and span error in their accuracy specifications, so that these measurement errors (up to ±1.00%) must be added to the accuracy in order to achieve reliable performance characteristics.