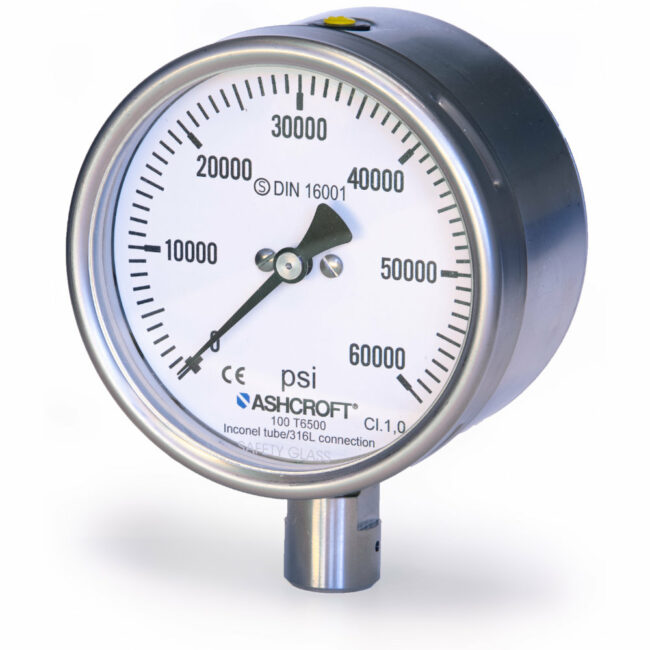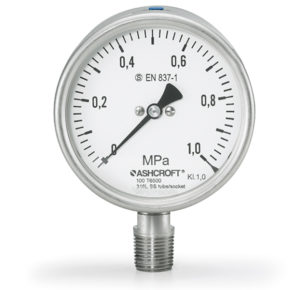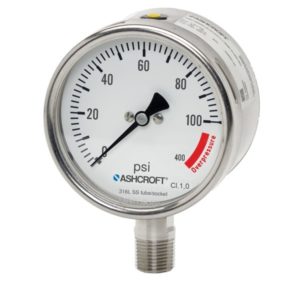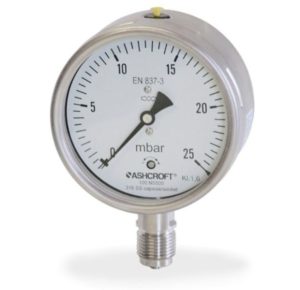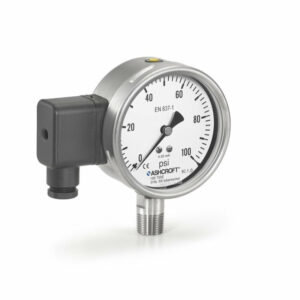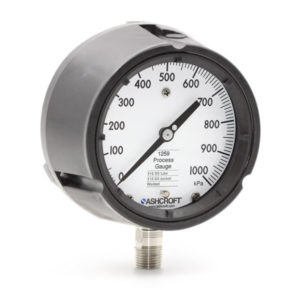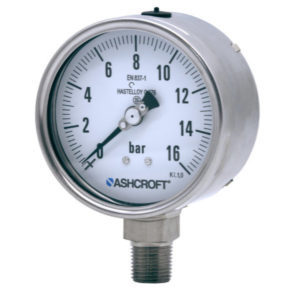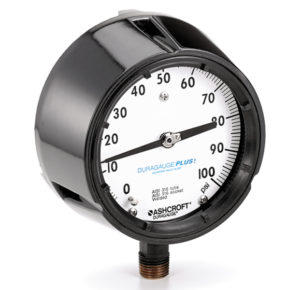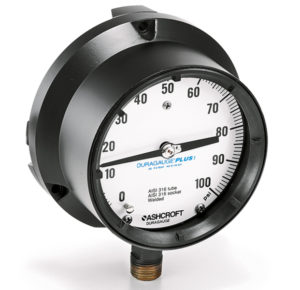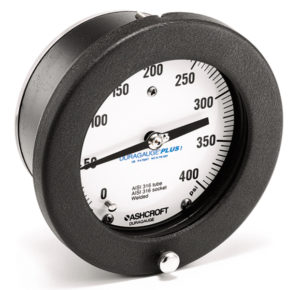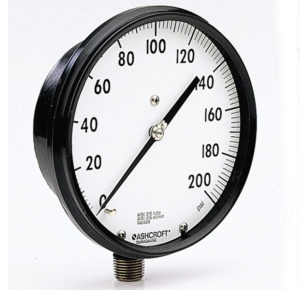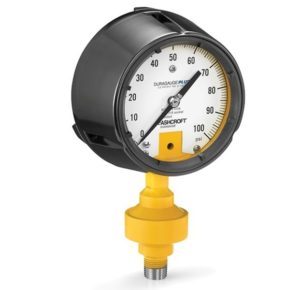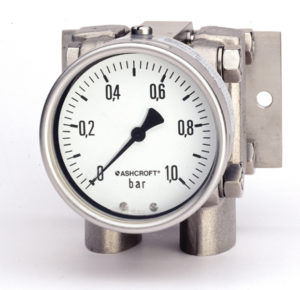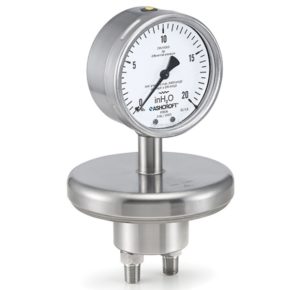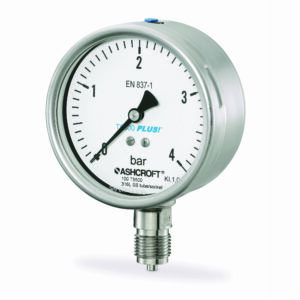

T6500W High Pressure Gauge
T6500W High Pressure Gauge
Process Market:
- Offshore Oil Rigs
- Chemical and Petrochemical Plants
- Power
- Pulp and Paper
Industrial Market:
- Machine Equipment
- Specialized OEM Equipment
Medical and Life Sciences:
- Food and Beverage
Data Sheets
Installation + Maintenance
Declaration of Conformity
- 📄 ATEX EU DoC T5500/T6500 01-2023 🇩🇪🇬🇧
- 📄 EU DoC Pressure Gauge / Manometer 12-2022 🇩🇪🇬🇧
- 📄 UKCA UKEX DoC T5500, T6500 DE EN 01-2023 🇩🇪🇬🇧
- 📄 UKCA DoC Pressure Gauge / Manometer 11-2022 🇩🇪🇬🇧
Safety Data Sheets
Key Features
All-stainless steel movement
Easily adjustable micrometer pointer
Socket welded to case
PLUS!™ Performance (optional)
Markets & Applications
Pharmaceuticals
Pumps and Compressors
Chemical and Petrochemical
Energy
Food and Beverage
Oil and Gas
Machine Automation
Hydrogen and Technical Gases
- Specifications
- Downloads
Ranges
1600 ... 7000 bar / 100000 psi
Dampening
Liquid fill
PLUS!™ Performance
Throttle rod
Wetted Parts Material
Bourdon tube Inconel, socket stainless steel 316L (1.4404)
Ingress Protection
IP66 / NEMA 4X
Case or Body Material
Stainless steel 304 (1.4301)
Stainless steel 316L (1.4404)
Process Connection Style
Threaded
Accuracy
1% of span (class 1)
1.6% of span (class 1.6) for ranges > 5000 bar
Case Style
Solid front with full rear blowout back (S3)
Process Connection Location
Lower
Dial Size
100 mm
160 mm
Pressure Type
Gauge pressure
Mounting
Surface
Flush
Stem
Data Sheets
Installation + Maintenance
Declaration of Conformity
- 📄 ATEX EU DoC T5500/T6500 01-2023 🇩🇪🇬🇧
- 📄 EU DoC Pressure Gauge / Manometer 12-2022 🇩🇪🇬🇧
- 📄 UKCA UKEX DoC T5500, T6500 DE EN 01-2023 🇩🇪🇬🇧
- 📄 UKCA DoC Pressure Gauge / Manometer 11-2022 🇩🇪🇬🇧
Safety Data Sheets
- Category: Process Gauges

